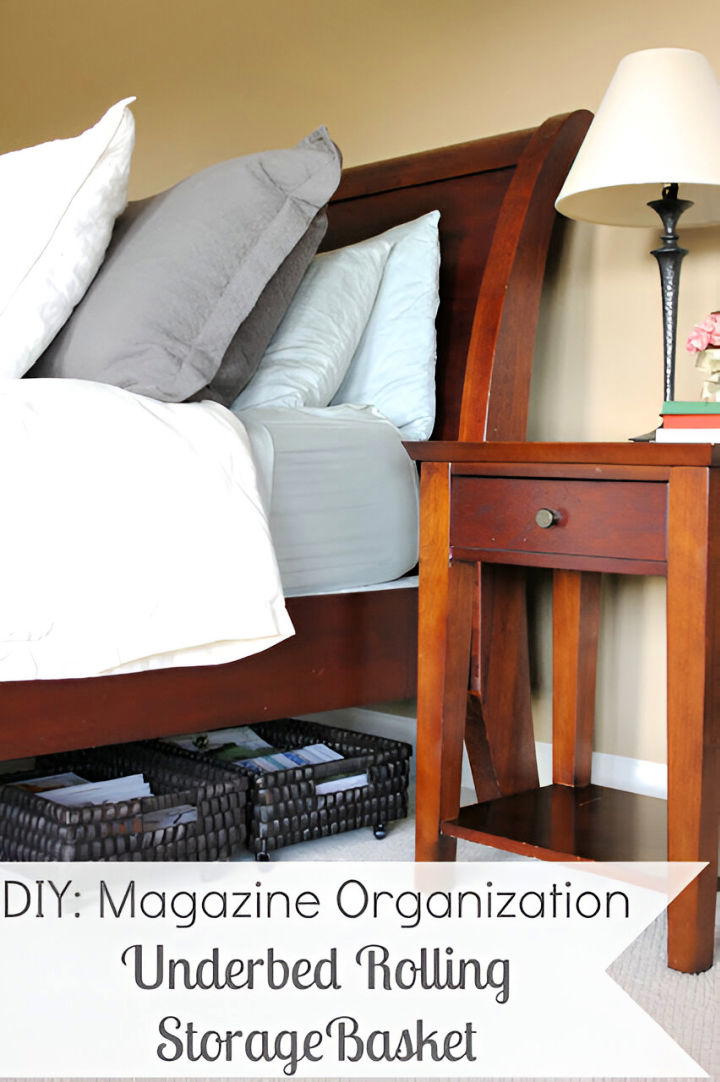
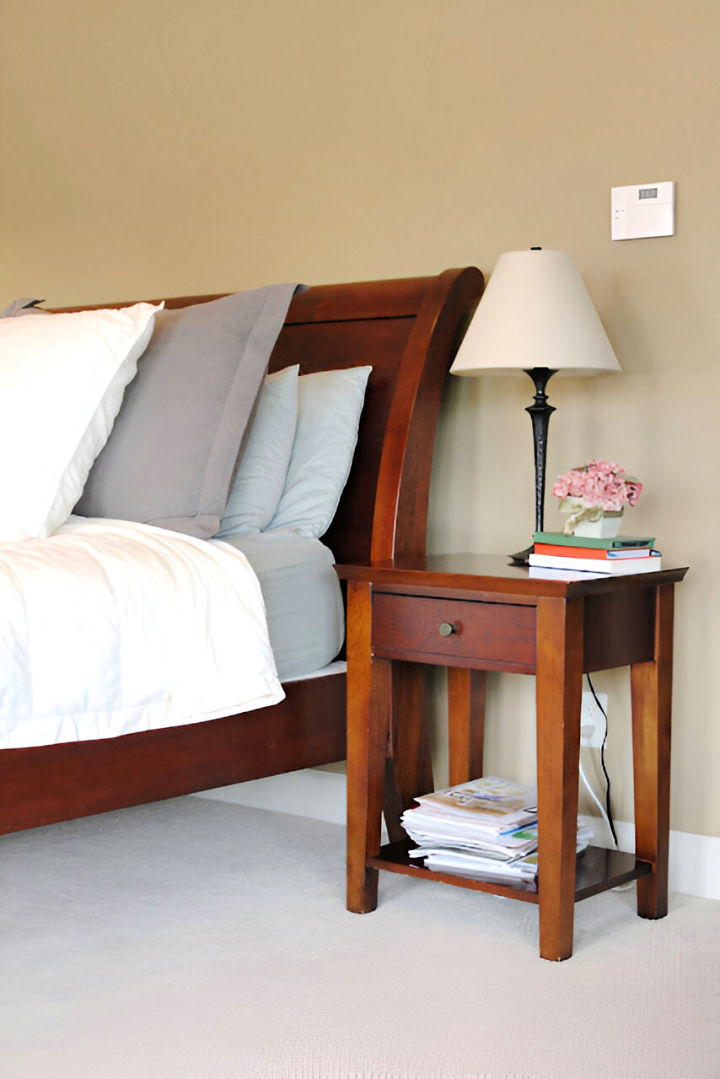
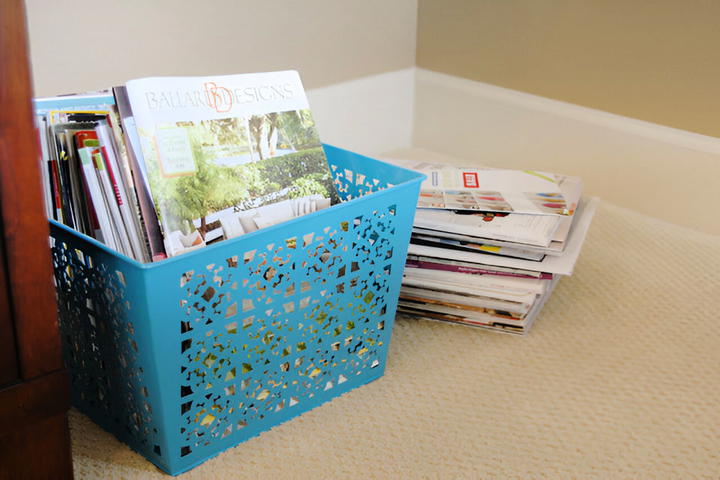
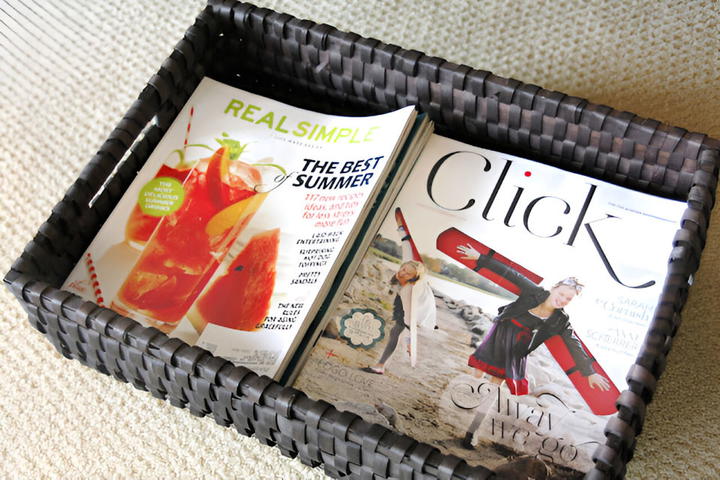
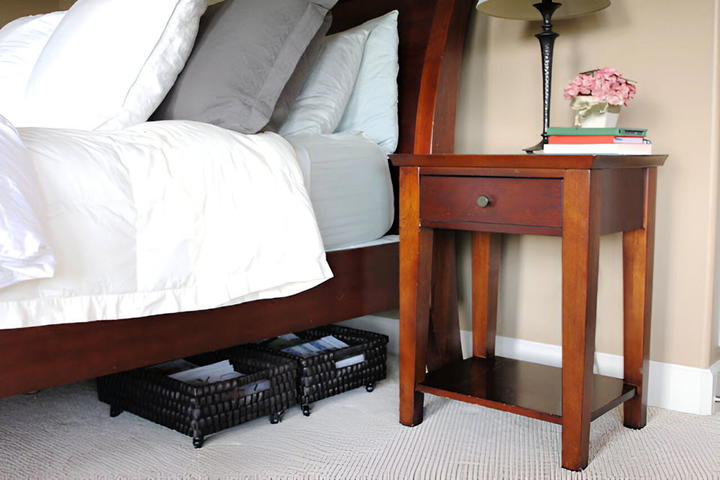
If you’re like me, you might have a slight magazine-hoarding problem. I love keeping magazines around because they’re a great source of inspiration for home decor, fashion, and recipes. But when my unread pile started taking over the bedside table and even spilling into a corner of my master bedroom, I knew it was time to do something about it. After a chance discovery of a beautiful under-bed storage basket at Pottery Barn, I had an idea: Why not create my own DIY version for a fraction of the cost?
Why Under-Bed Storage is a Game-Changer
Before diving into the nitty-gritty of this DIY project, let me tell you why under-bed storage can be a lifesaver for anyone trying to organize their home. The space under your bed is often overlooked, but it’s actually one of the best places to stash away items you don’t need every day. It’s out of sight, easily accessible, and perfect for storing things like magazines, shoes, seasonal clothing, or even extra linens.
This storage solution isn’t just functional; it also helps in maintaining a clean and minimalist look in your bedroom. With that in mind, let’s get started on creating an affordable and stylish under-bed storage solution!
Materials You’ll Need
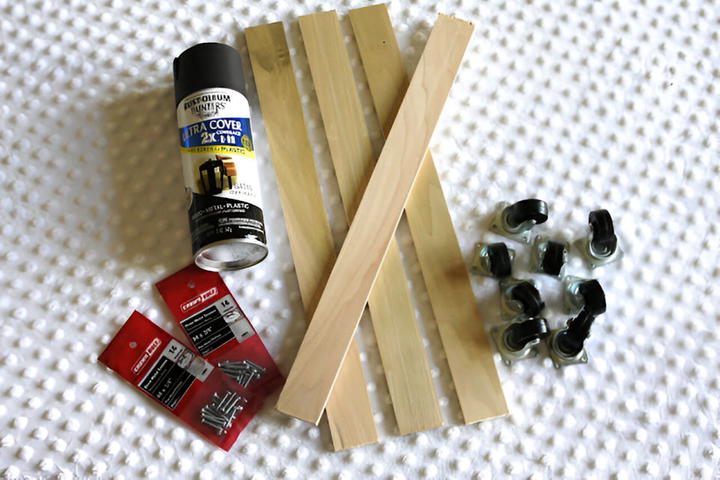
Here’s a breakdown of the materials I used to create my own under-bed storage baskets. I found these items at local stores, but you can easily substitute them with similar materials based on what’s available near you.


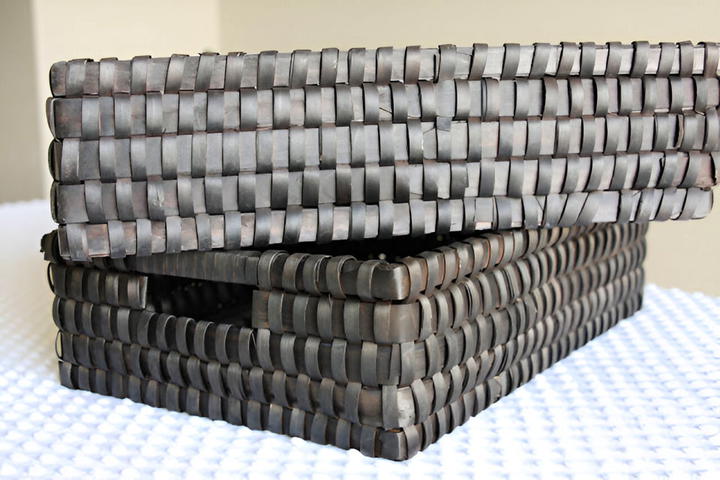
- Basket of Your Choice: I found mine at Michael’s on sale for $8.99 each. Ensure the basket’s height fits under your bed with some room for the wheels.
- 4 Casters (1 1/4″): These are the wheels that will allow your basket to slide effortlessly. I got mine from Home Depot for $2.39 each.
- 2 Wooden Planks (1/4 x 2 x 2): I used these to provide a sturdy base for the wheels. They were also from Home Depot, costing $0.89 each and cut down to size.
- Spray Paint: I chose a dark walnut color to match the baskets. This cost about $3.50.
- Small Screws and Nails: I had these on hand, but they are relatively inexpensive.
- Tools Needed: A drill and a screwdriver will be required for assembly.
Important Tips Before You Start
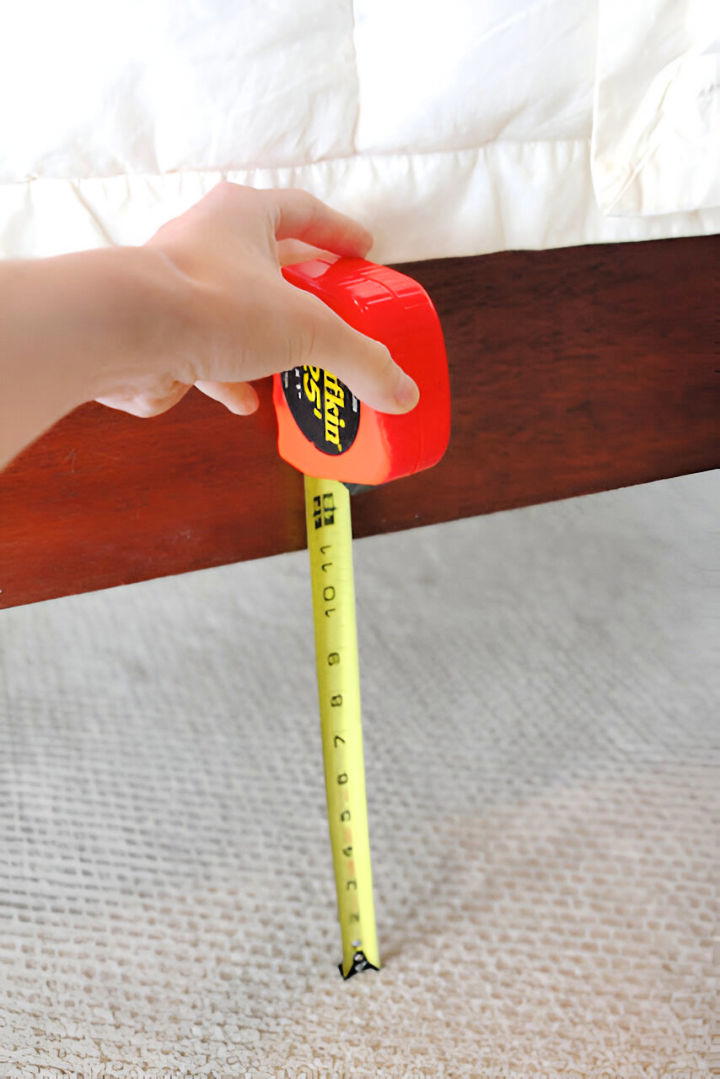
Measure Your Bed Clearance:
Before shopping for baskets, measure the height from the floor to the bottom of your bed. Mine is 11 inches, so I needed a basket that was 5 inches high, leaving room for the wheels.
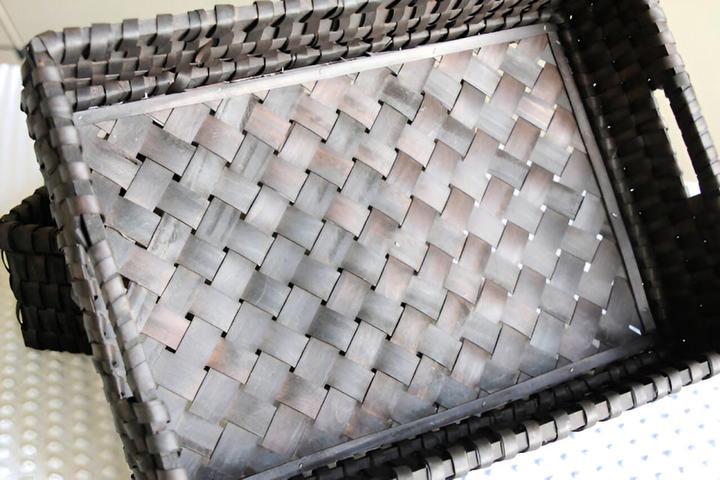
Choose the Right Basket:
Ensure the basket you select has a sturdy base. The ones I chose had extra wood pieces on the bottom, which made it easier to attach the wooden planks and caster wheels.
Step-by-Step DIY Guide
Discover the ultimate DIY step-by-step guide for efficient under-bed storage. Maximize space & stay organized with this perfect solution!

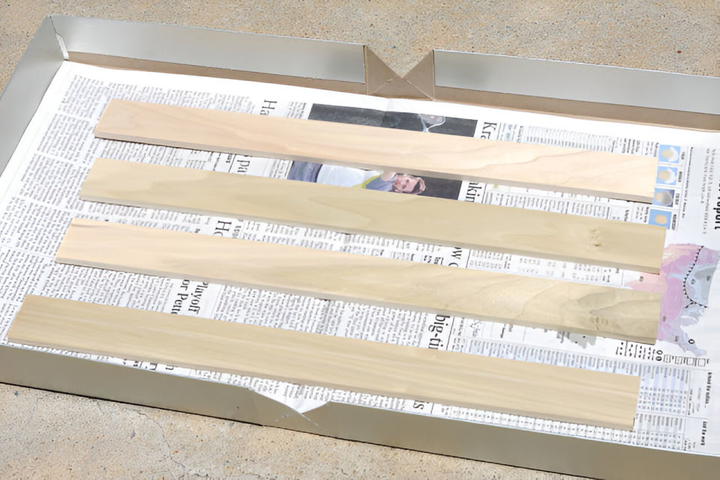
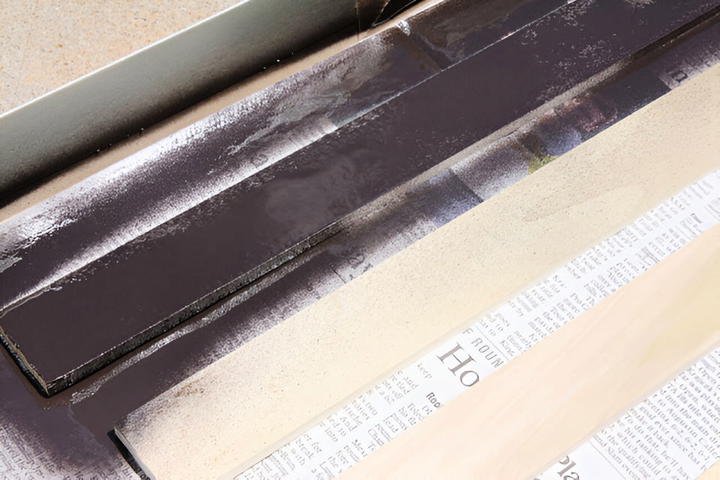
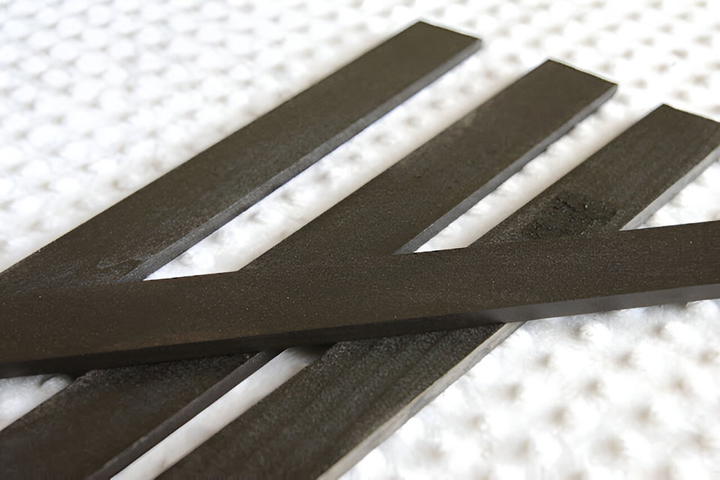
Step 1: Preparing the Wooden Planks
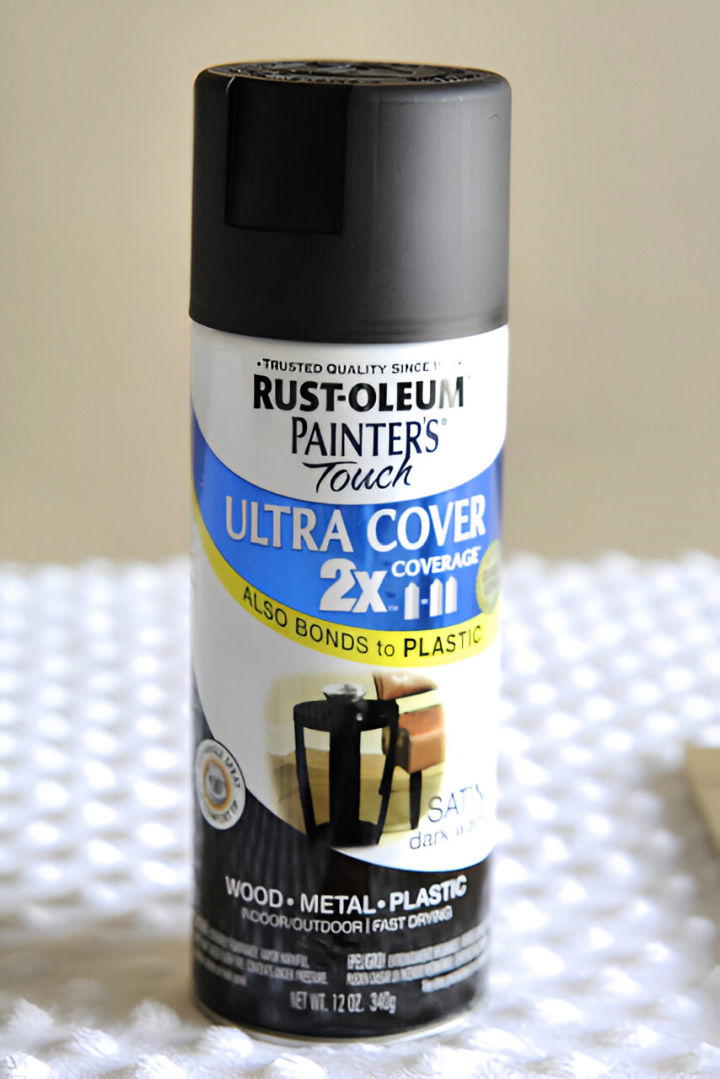
I started by painting the wooden planks. Since the natural color of the wood didn’t match the dark walnut baskets, I used spray paint to blend them better. This way, if I decide to move the baskets to another spot in the house, everything will look cohesive.
- Tip: Spray paint in a well-ventilated area and allow it to dry completely before moving on to the next step.
Step 2: Painting the Casters
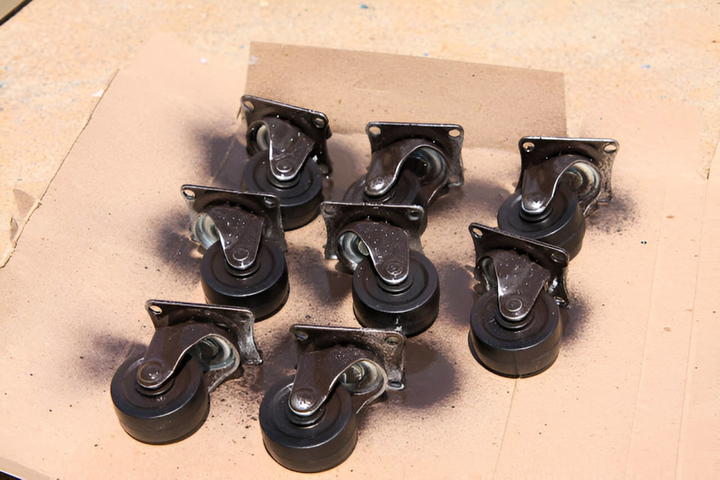
Next, I spray-painted the casters. They were originally silver and stood out too much against the dark walnut. A quick spritz of the same paint used for the planks helped them blend seamlessly with the overall look.
- Tip: This step is optional, but I highly recommend it for a more polished and professional finish.
Step 3: Attaching the Wooden Planks to the Basket
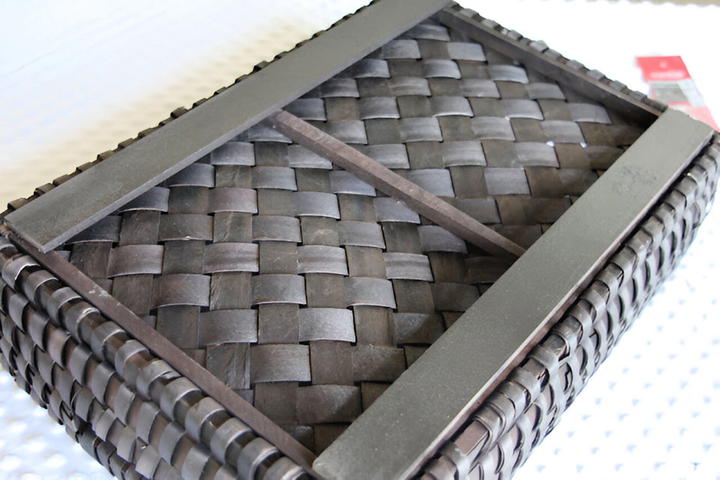
Once the paint dried, I placed the wooden planks along the length of the basket’s bottom. These planks act as a foundation for attaching the caster wheels, ensuring a sturdy and balanced base.
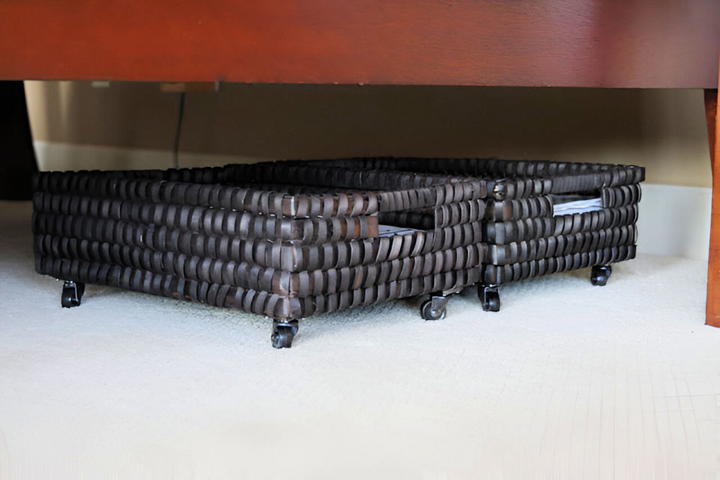
Step 4: Installing the Casters
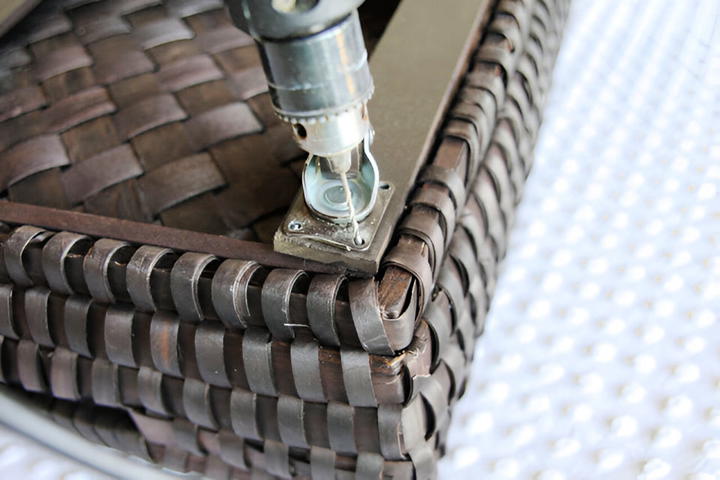
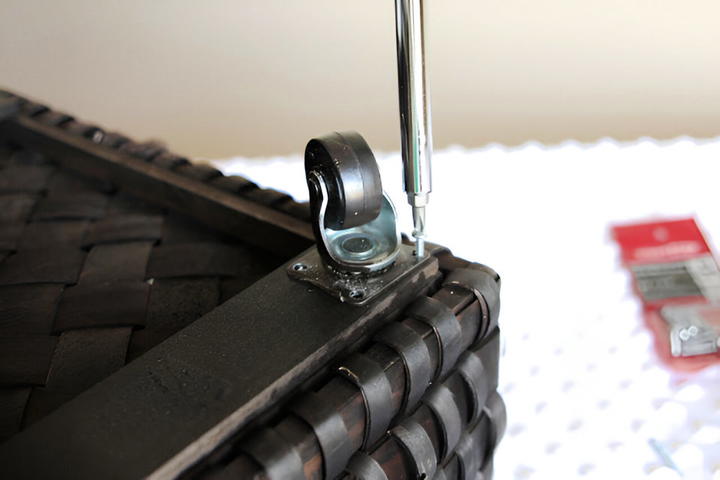
This is where things started coming together! I placed one caster on each corner of the basket’s bottom, lining them up with the wooden planks. To prevent the wood from splitting, I pre-drilled small holes into three of the four holes on each caster.
- Tip: Pre-drilling makes it easier to drive the screws in and keeps the wood intact.
After pre-drilling, I used a screwdriver to secure the casters with small screws. This process was surprisingly quick, taking only about 10 minutes per basket.
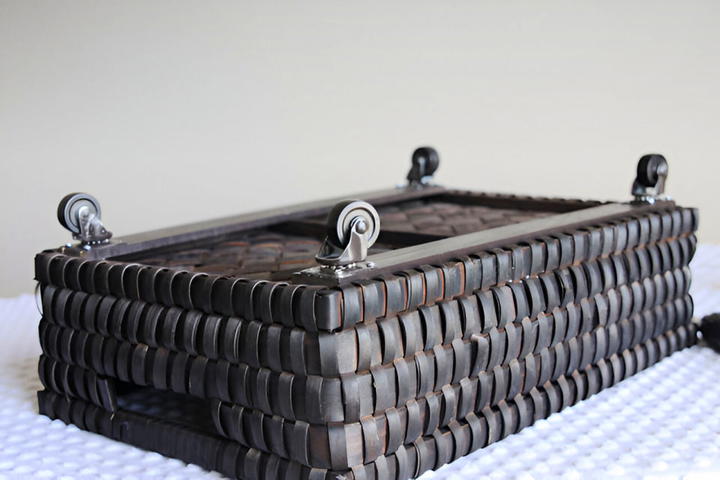
Step 5: Testing the Fit and Functionality
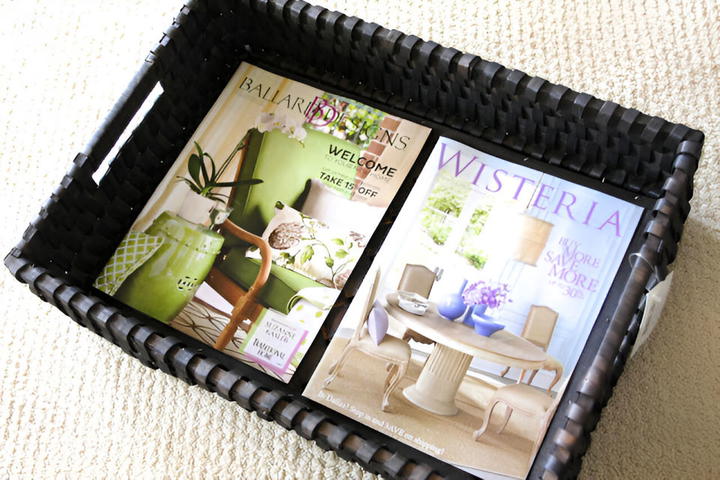
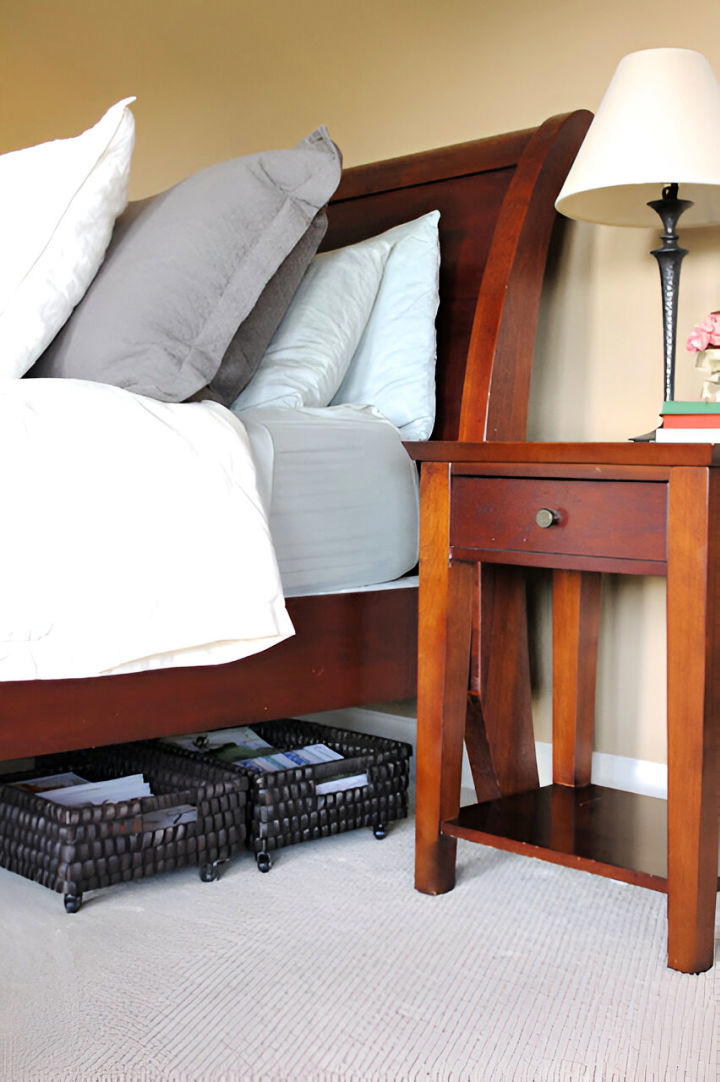
Once the casters were securely attached, it was time to test the baskets. I loaded them up with magazines to see if they rolled smoothly under the bed. They worked perfectly! My side of the bed now looks much more organized, and I love how easy it is to slide the baskets in and out.
Step 6: Final Thoughts and Adjustments
After finishing both baskets, I realized how versatile they could be. While I initially made them for magazine storage, these baskets are perfect for holding all sorts of items, from extra blankets to toys or even shoes. If you plan to use them for heavier items, consider using sturdier casters or reinforcing the basket base further.

Benefits of DIY Under-Bed Storage Baskets
- Cost-Effective: I saved a significant amount by DIY-ing these storage baskets. The Pottery Barn version I loved cost $69 each (plus tax and shipping), whereas I made two for about $22 each!
- Customization: You can choose baskets, paint, and caster styles that match your decor and personal taste.
- Satisfaction of Creating Something Useful: There’s a certain pride in building something with your own hands that perfectly fits your needs.

Common Challenges and Solutions
- Finding the Right Basket: It might take some time to find the perfect basket that fits both your aesthetic and functional needs. Be patient, and don’t settle for something that doesn’t suit your space.
- Ensuring Stability: If you’re concerned about stability, consider adding an extra wooden plank crosswise or using a slightly thicker wood.
- Painting and Finishing: If you’re not familiar with spray painting, practice on a scrap piece first to get a feel for the right distance and technique.
Conclusion: Create Your Own Under-Bed Storage Solution Today!
This project was not only budget-friendly but also incredibly satisfying. Seeing my bedroom go from cluttered to organized with just a few hours of work and some simple materials was amazing. I encourage you to try it out and see how much of a difference it can make in your space.
By repurposing and creating custom storage, you’ll find that your home can be more organized and aesthetically pleasing without breaking the bank. Plus, you’ll gain the confidence that comes from completing a DIY project and learning new skills along the way.
I hope this guide inspires you to tackle your own under-bed storage solution. Happy organizing!
Related posts:
 20 Best Board Game Storage Ideas (Full Guide)
 How to Store Hats (23 Unique Hat Storage Ideas)
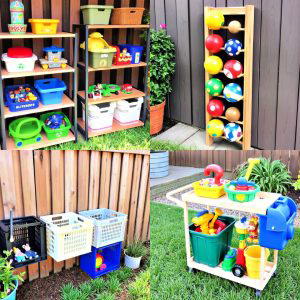 Practical Outdoor Toy Storage Ideas
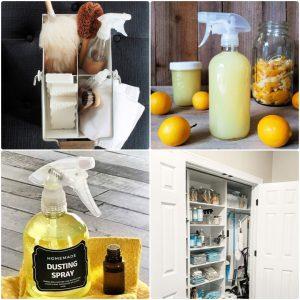 Homemade All Purpose Cleaner (65 DIY Cleaning Solutions)
 20 DIY Pantry Ideas (How to Build a Pantry)
 20 Easy DIY Bracelet Holder Ideas (Make Bracelet Display)
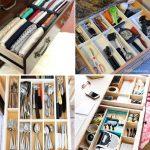
 DIY Drawer Dividers (How to Make Drawer Dividers)
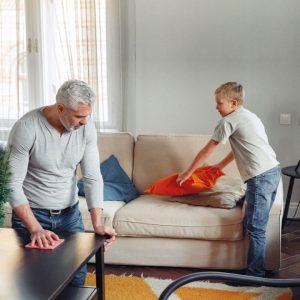 7 Tips for Keeping Things Organized in a House With Kids