There’s something truly special about creating your own cupcake toppers. Whether it’s for a birthday party, a family gathering, or just because, I’ve always found that a personalized touch can elevate even the simplest of cupcakes. Over the years, I’ve experimented with various styles and methods, and I’ve discovered a super simple, semi-homemade approach that anyone can do with minimal materials and time. Let me walk you through my favorite method of making DIY cupcake toppers that will add charm and character to any event!
Why DIY Cupcake Toppers?
Cupcakes are a staple at most of our family celebrations. They’re perfect—no need to cut slices or handle messy frosting. Plus, each one is like a small, handheld dessert. But what makes them even better are those cute, customized toppers that turn a plain cupcake into a centerpiece.
Why Make Your Own? Over the years, I’ve realized that creating your own toppers isn’t just about saving money; it’s about adding that personal flair. Store-bought toppers can be repetitive and often lack character. By making your own, you get to play with colors, themes, and materials that perfectly match the occasion or your personality.
Materials You’ll Need and Why
Before we dive into the step-by-step process, let’s gather the essential materials. Here’s what I use and why each item is important:
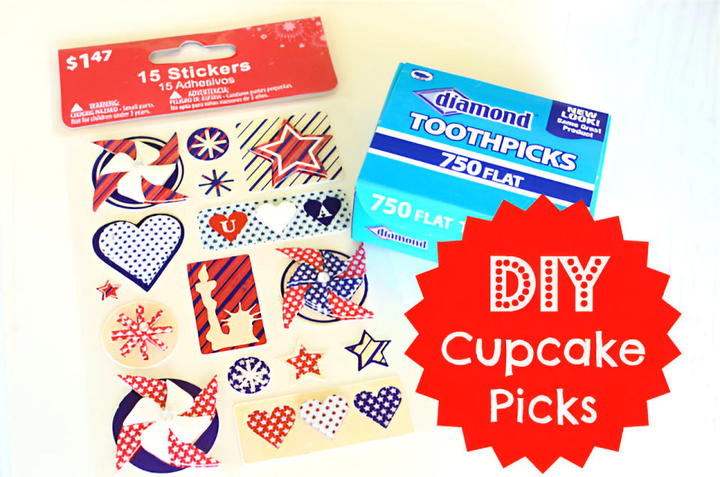
- Thick Cardstock Stickers: These are the stars of the show. I often pick up a couple of packs whenever I see a great deal. Stickers add instant color and design to the toppers without needing to do much work.
- Cardstock Paper in a Similar Color: This serves as the backing for the stickers. It provides stability and helps prevent the stickers from bending or warping.
- Double-Sided Tape: My secret weapon for almost any craft project! This tape is strong and ensures that everything stays in place without making a mess.
- Toothpicks: The support for the toppers. Flat toothpicks work best because they provide a broader surface area for the tape to adhere to, ensuring the topper is stable when inserted into the cupcake.
Step-by-Step Guide to Making DIY Cupcake Toppers
Step 1: Choose and Prepare Your Stickers
I start by selecting stickers that match the theme of the event. For example, for a birthday party, I might choose balloons or stars; for a baby shower, cute animals or pastel designs work great. The key is to pick stickers that are thick and sturdy—they hold up better and look more polished on the finished product.
Step 2: Cut Matching Cardstock Shapes
Next, I take my cardstock paper and cut it into shapes that match the stickers. If the stickers are circular, I cut out circles; if they’re stars, I do my best to mimic that shape. The cardstock serves as a backing that not only reinforces the sticker but also covers the back side of the toothpick for a clean, professional look.
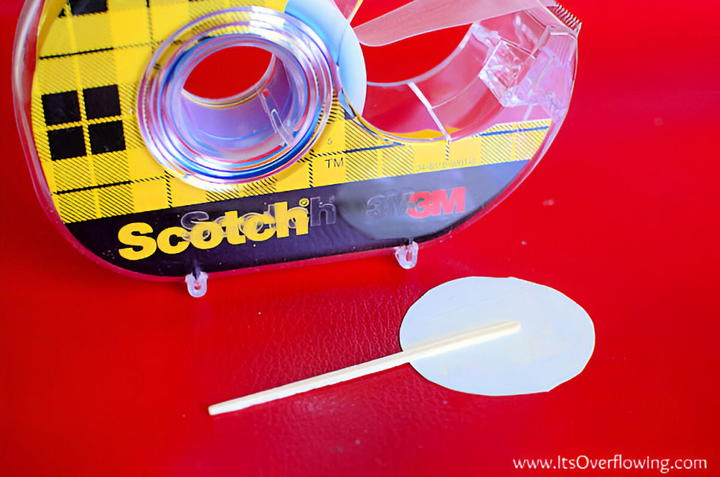
Step 3: Attach the Toothpick with Double-Sided Tape
Now comes the fun part! I use a small piece of double-sided tape to attach a flat toothpick to the back of the cardstock shape. Make sure to press down firmly so that the toothpick sticks securely. This is crucial because if the toothpick isn’t well-attached, your toppers might come apart when you stick them into the cupcakes.
Step 4: Add the Sticker to the Cardstock
Once the toothpick is securely attached, I peel off the sticker and place it directly on the other side of the toothpick, lining it up perfectly with the cardstock backing. This way, both sides of the topper look neat and tidy, and there isn’t any awkward overhang.
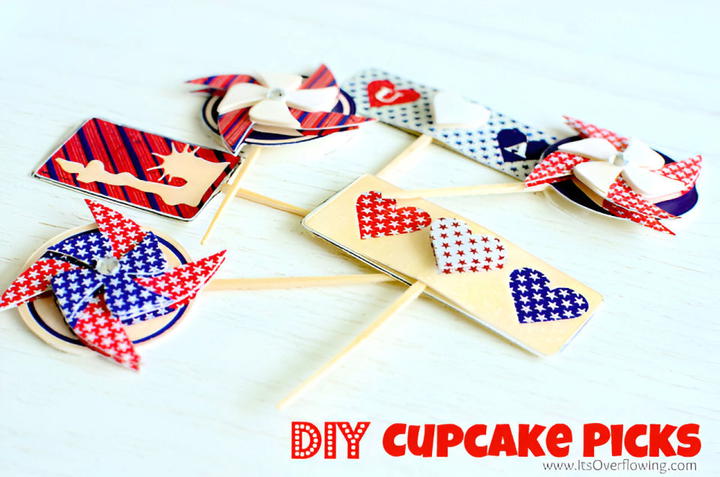
Step 5: Repeat and Create a Collection
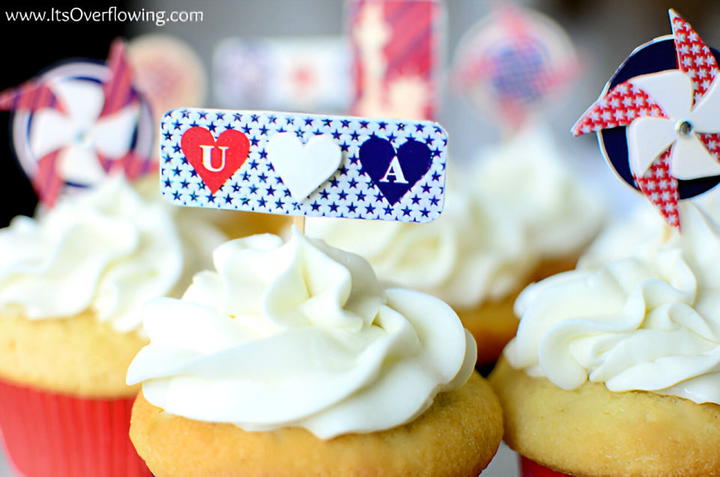
I usually repeat these steps to create a set of toppers. Depending on the number of guests and the variety of designs I have, I make sure to have plenty so that each cupcake has its own unique topper. The result? A vibrant collection that catches everyone’s eye at the dessert table!
Personal Tips and Tricks
From my experience, I’ve learned a few tricks that can make your DIY topper journey even more enjoyable:


- Mix and Match: Don’t be afraid to mix different sticker designs within the same theme. This creates a more dynamic and visually interesting display.
- Layer for Extra Dimension: Sometimes, I like to layer smaller stickers on top of larger ones. This adds depth and makes the toppers look more three-dimensional.
- Use Different Toothpick Types: While I prefer flat toothpicks for stability, you can experiment with decorative toothpicks or mini skewers for a different look.
- Test Before the Event: It’s a good idea to make a few toppers ahead of time and test them on some cupcakes. This helps you see how they’ll hold up and if any adjustments are needed.
Why This Method Works
I’ve tried a myriad of ways to create toppers—cutting out intricate shapes by hand, using printable designs, and even crafting with fondant. But I’ve found that using thick cardstock stickers with a cardstock backing is the simplest and most effective method. It’s fast, requires minimal skill, and always yields beautiful results. Plus, it gives me the flexibility to quickly whip up a new batch whenever I find some adorable new stickers.
Conclusion: Make Your Celebrations Memorable
At the end of the day, what I love most about making these DIY cupcake toppers is how much joy they bring. They’re a conversation starter and a personal touch that shows your guests you’ve put thought and effort into every detail. And trust me, the compliments you’ll receive are well worth the little bit of time and creativity invested!
So, what’s your next celebration? Whether it’s a birthday, a holiday, or just a family get-together, I encourage you to try making these simple cupcake toppers. They’re fun, they’re easy, and they’ll definitely bring a smile to everyone’s face.
Happy crafting, and even happier celebrating!
Related posts:
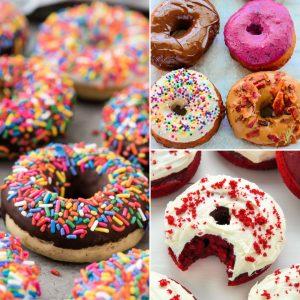 15 Quick and Easy Homemade Donuts Recipe
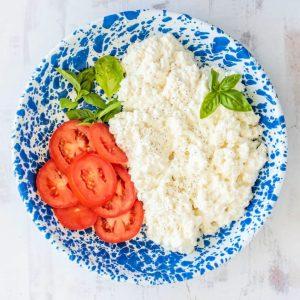 15 Best Homemade Cottage Cheese Recipes
 15 Quick Homemade Ginger Tea Recipe
15 Homemade Chicken Soup Recipe
15 Quick Homemade Ginger Tea Recipe
15 Homemade Chicken Soup Recipe
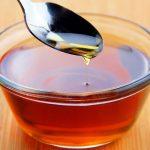
 15 Best Homemade Maple Syrup Recipes
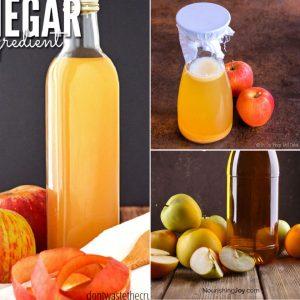 15 Quick and Easy Homemade Apple Cider Vinegar Recipes
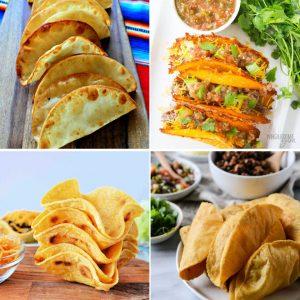 15 Quick and Easy Homemade Taco Shells
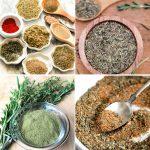
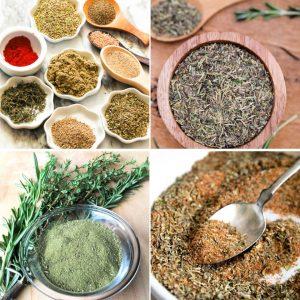 15 Quick and Easy Homemade Poultry Seasoning Recipe
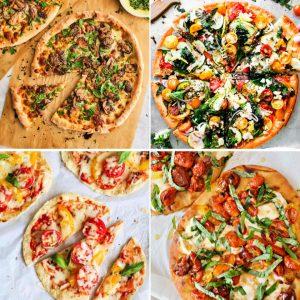 10 Homemade Flatbread Pizza Recipe
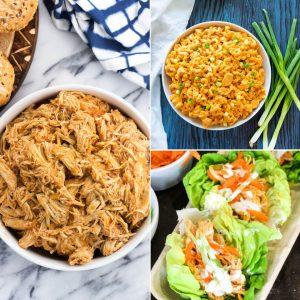 20 Easy Instant Pot Buffalo Chicken Recipes
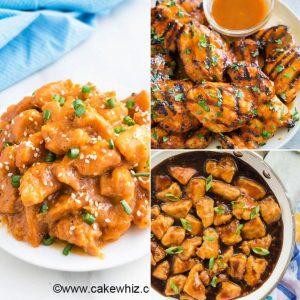 15 Best Orange Chicken Recipe With Orange Marmalade
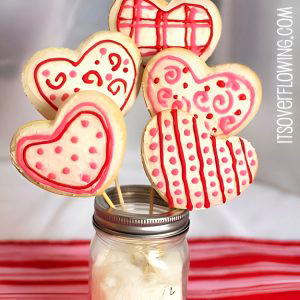 Valentine’s Day Cookies: Creating a Heartfelt Cookie Bouquet