There are quite many little things in life, that if done, can improve our lifestyle to a whole new level. This is what pushed me to go looking for how to make a weighted blanket! A DIY weighted blanket has a lot of functional benefits for the human body. For starters, it works as great support for keeping our sensory system on top of its game. As it has the quality of auto-regulating the sensory system and especially the tactile system. Other than this, it is also said to improve our lives by:
- Combating stress
- Mitigating the restless syndrome of legs or body overall
- Improving sleep
- Helping focus the patients with ADHD
- And aiding in the sensory system disorder
All of these charming and such inspiring qualities on board, and I was already looking to get a weighted blanket. I am a true DIYer by spirit, so I definitely opted for a DIY weighted blanket instead. It gave me a huge relief in the big bucks sense, of course. I did look out to buy one from the market, but guess what? It costs nothing less than $100 or even more. So, it was a big no! And we are back at the how to make a weighted blanket quest. Let me share with you the supplies first
Required Supplies for Weighted Blanket
- Fabric for the front and back patch
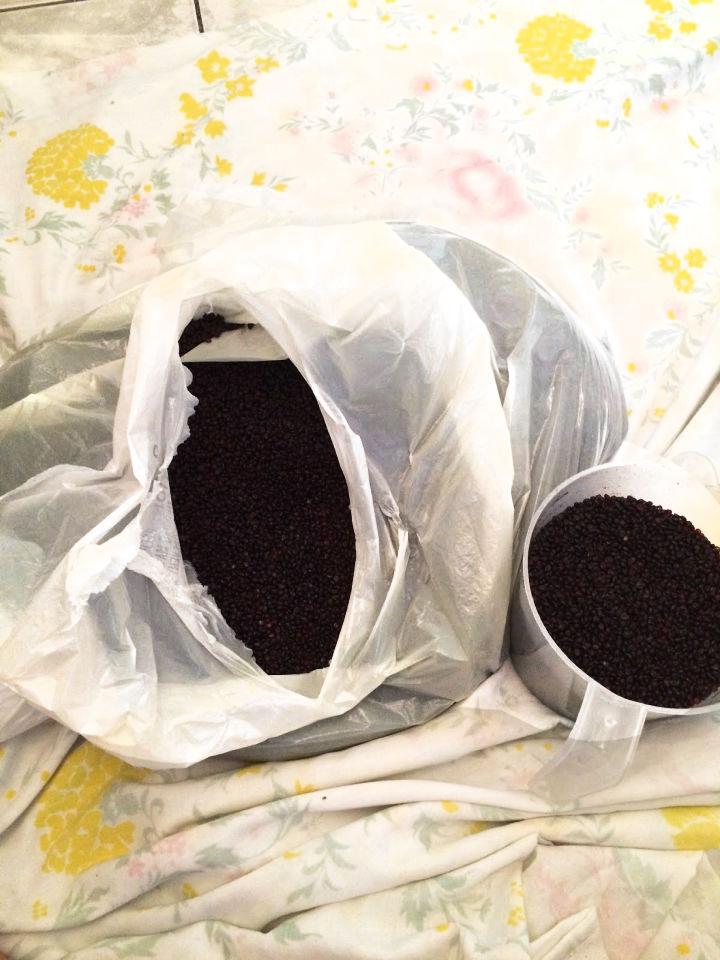
- Weighted plastic beads (you can get them from eBay)
- Scissors
- Chalk
- Measuring tape
- Pins
- Thread
- Sewing machine
STEP BY STEP Weighted Blanket GUIDE:
Measurement of the Weighted Blanket
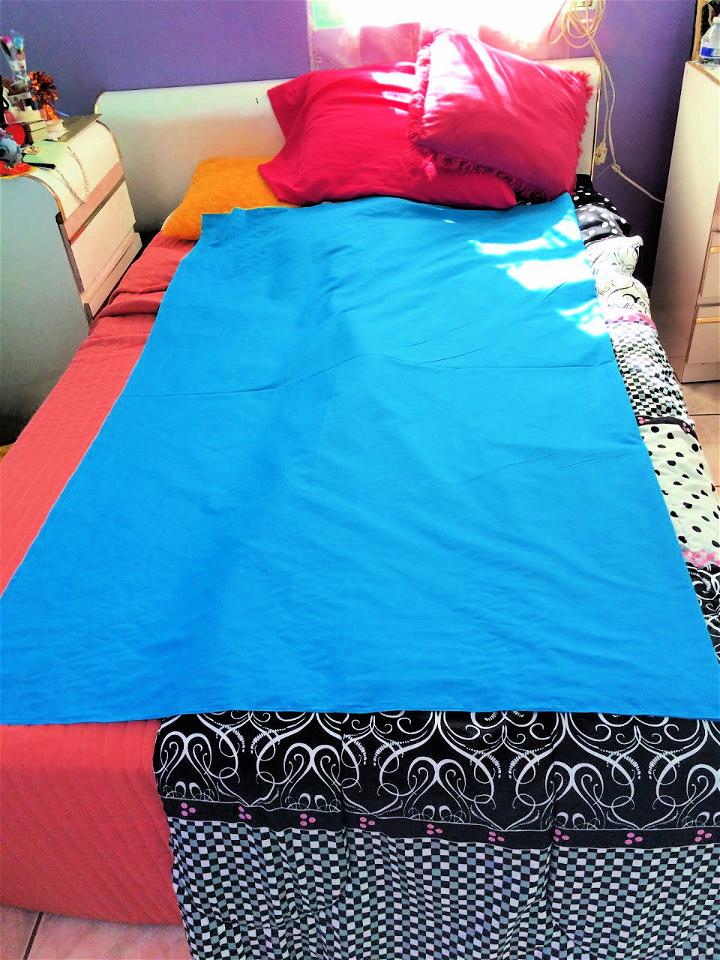
Start by measuring the fabric and cutting it to the size you want your DIY weighted blanket to be. Make a sack of the desired size with the front and back patch. Make sure to use a durable fabric for ideal results. The original sack will look like something in the picture below. Making the sack is quite easy, I just put the patches on each other and folded the fabric. After that, I just sew the sides at the bottom and the sides.
Working on the squares
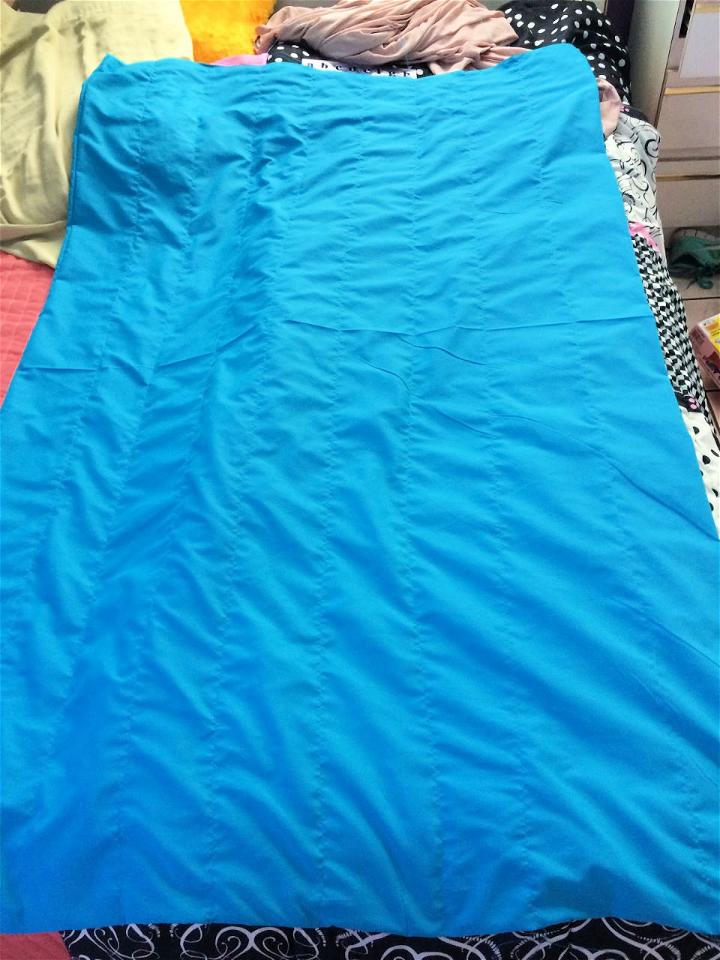
The next part involves working the squares for the blanket. This part of making a DIY weighted blanket involves some Maths! You just need to first decide the sizes of the squares you want and then how many squares you want to cover each side or the whole area. One pro tip: If you choose the bigger square sizes, it will be much easier to sew them with the beads inside. This way, you won’t accidentally crack your machine’s needle while sewing the squares close. Also, bigger squares will be much easier to be filled with beads. Once you have made all the measurements, sew these vertical lines all over the blanket, as shown in the image.
Keeping the lines straight
Now, if you are anything like me when it comes to sewing. This section can help you a lot! I have this huge trouble of sewing all straight in a vertical or horizontal dimension. If you too face the same trouble, I have a few tips. You can either draw a line using chalk or pencil on your fabric to sew in a perfectly straight line. Or another great idea is to instead use a fabric with squares or check print! To avoid any of these straight lines trouble at all!
Beads quantity and ratio

Now, comes another math’s calculation quest in our how to make a weighted blanket voyage. To add beads in each vertical box, there are a little bit more maths. You have to be careful while adding beads in such a way that it weighs 10% of the weight of the person and plus one more. This way, you can get the desired weight in your DIY weighted blanket. You don’t want to overweigh it and reverse the benefits instead. For instance, if you are making the weighted blanket for a person weighing 60 pounds, then you would work to make a 7 pounds weighted blanket.
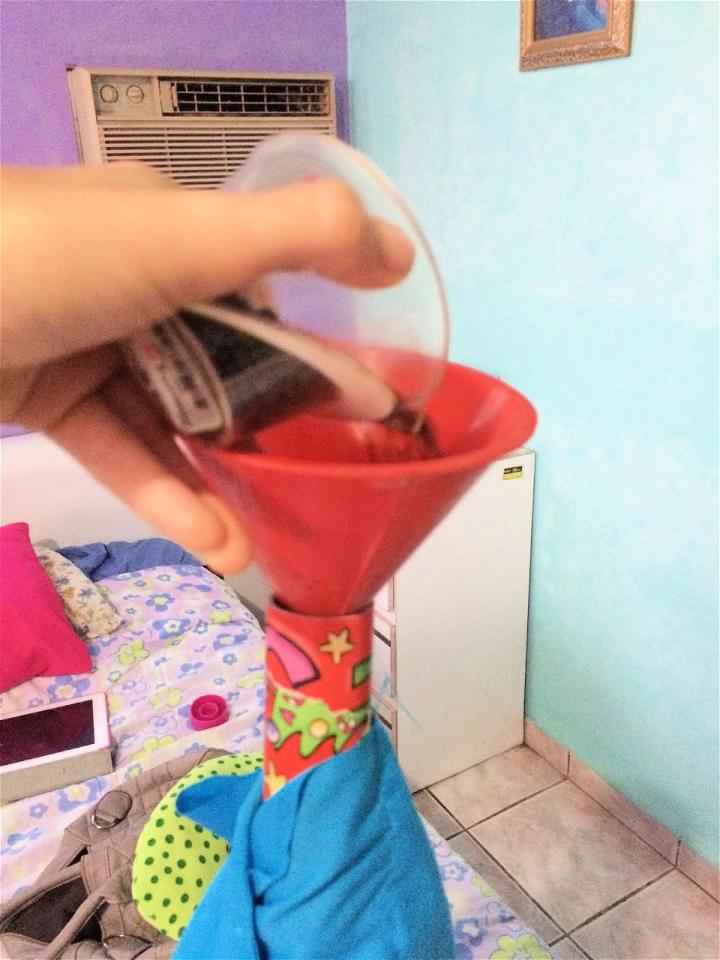
Filling in the beads
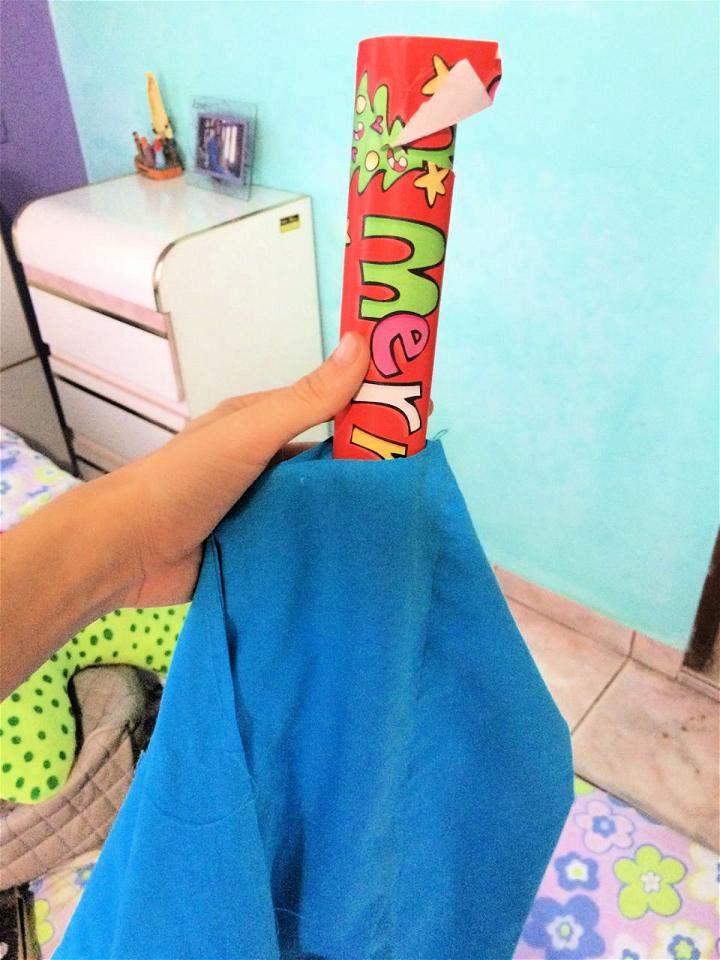
I used a vertical paper tube to fill in the beads inside the vertically sew lines. This way, I got easy access inside the lines without any fear of dropping the beads elsewhere on the floor, for that matter. Put a funnel, paper or plastic, on top of the paper tube and flow the beads through and through.
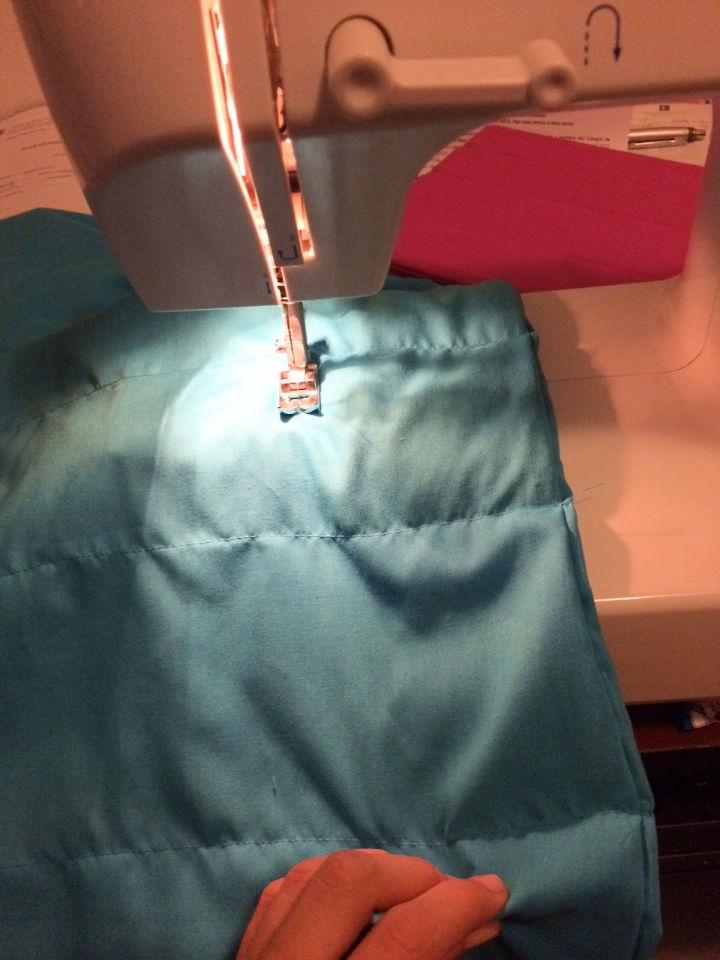
Sewing the horizontal lines
Once you have finished filling in beads in each section, now it’s time for the final sewing. That is sewing across the horizontal lines! Before just doing it right away, I instead started by marking the sides to start sewing the horizontal lines from. If you have carefully noted down all the pro tips in the above section, you will not feel as miserable as I felt while making my DIY weighted blanket. The beads were overflowing, and I had a lot of broken needles. One more pro-tip, always lose extra space at the ends to be able to fold the blanket sides and sew.
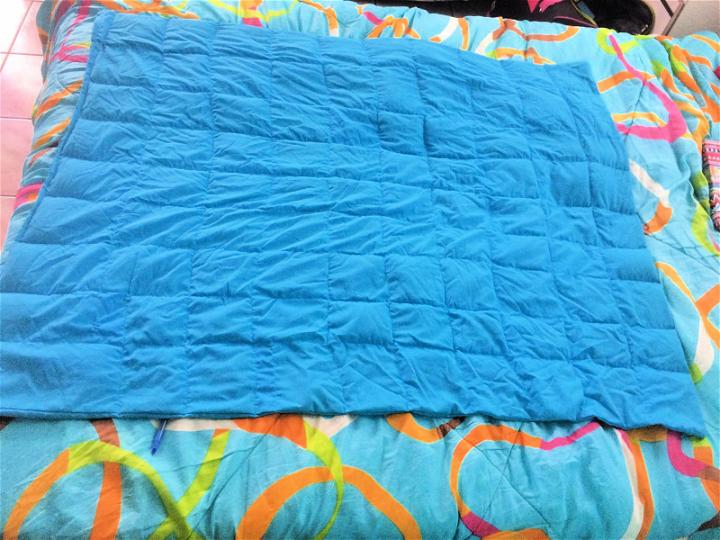
The final look
But ta-dah! Finally, I was able to close, and here lies the final look of my DIY weighted blanket. The finished size is 35 inches by 42 inches roughly. Ideally, I planned each square to be 4 x 4 inches (might have drifted from that part, given the sewing misery *eye roll*). However, the weight of the blanket is 7 pounds, as I did share with you at the very start.
Some confessions!
To be honest, all this hype about how to make a weighted blanket and how easy it is; it did make me think for a second there that I can nail it like a pro! Well, as it turns out, it all depends on how pro you are at sewing and more than that how systematically you can avoid the blunders. As a DIYer can make way through anything. So, although I had to bear many problems like the spilled beans and oh so many broken needles, I still have no regrets at all for choosing a DIY weighted blanket! I have had a much better sleep till that day, and I wake up darn fresh in the morning.
Lastly, just follow the insights I have shared, and you are good to go! Don’t spend that much money on a commercial weighted blanket when you can absolutely DIY your own weighted blanket. Happy sleep, folks!
Related posts:
 How to Make a Weighted Blanket (30 DIY Weighted Blankets)
 16 Best Wrap Dress Patterns (Free PDF Pattern)
 50 Free Shift Dress Patterns for Beginners (PDF Pattern)
 Swing Dress Pattern (25 Free Swing Dress Sewing Patterns)
 Slip Dress Pattern (10 Free Slip Dress Sewing Patterns)
 A Line Skirt Pattern (15 Free Patterns To Try)
 Wrap Skirt Pattern (15 Free Sewing Patterns)
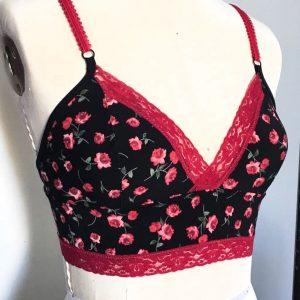 10 DIY Bralette Patterns (Free Sewing Pattern PDF)
 How to Make a Tulle Skirt (DIY Tulle Skirt Pattern Free)
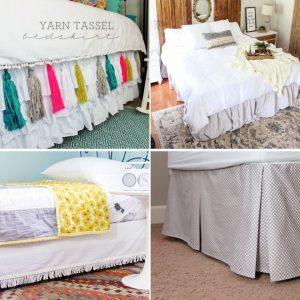 How to Sew a Bed Skirt (20 Easy DIY Bed Skirt Ideas)
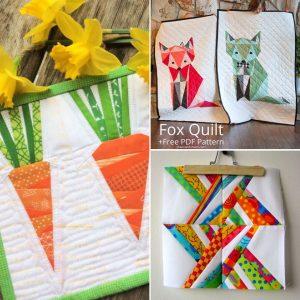 20 Free Paper Piecing Quilt Patterns for Beginners
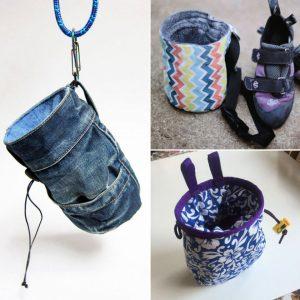 10 Easy DIY Chalk Bag Patterns (Free Chalk Bag Pattern)