When I think of spring, I envision sunshine, singing birds, and the delightful bloom of flowers. If you’re considering starting a garden this year and need some simple tips to get it going, I’ve got the perfect method to cheer on your little seedlings. Even better, this approach allows children to be fully involved in the process, creating wonderful learning moments together.
Sprouting seeds is an exciting and straightforward activity that not only prepares you for a bountiful garden but also connects you more deeply with the natural world. Throughout my gardening journey, I’ve discovered a few methods that have consistently brought me success in sprouting seeds, and today, I’ll share my favorite one with you.
Why Sprout Seeds Indoors?
Starting seeds indoors has numerous benefits. It allows you to have a head start on the growing season, particularly if you live in a region with a shorter summer. By sprouting seeds indoors, I can control the environment, ensuring optimal conditions for growth such as warmth, moisture, and light. This method has proven incredibly effective for me, as it minimizes the risk of seeds being washed away by rain or eaten by birds and pests.
Plus, it’s an engaging way to teach kids about plant biology, patience, and the joy of growing something from scratch. Whenever I involve children in this process, they love watching the seeds turn into tiny green shoots—it’s a magical experience for them!
Materials Needed for Sprouting Seeds
Before diving into the steps, it’s important to gather the necessary materials. Here’s what I use for my seed-sprouting setup:
- Extra-large, transparent disposable food-prep gloves: These are perfect for holding individual seeds and keeping them moist.
- Damp cotton balls: They provide moisture to the seeds without soaking them, creating an ideal environment for germination.
- Seeds of your choice: Choose seeds that are easy to sprout, like beans, peas, or herbs. I’ve found these to be the most child-friendly and forgiving for beginners.
- Plastic bags or clear containers: If you opt for the paper towel method, a plastic bag is essential to maintain humidity.
- A warm spot: A place like a window ledge or the top of a refrigerator can provide consistent warmth. More on this in the next section.
These materials are not only easy to find, but they are also affordable, making this project accessible for everyone.
Step-by-Step Process to Sprout Seeds Using Disposable Gloves
1. Prepare Your Materials
Start by gathering your seeds, gloves, and damp cotton balls. I like to lay everything out on the kitchen counter so it’s easy to grab. Ensure that the cotton balls are damp, not soaking wet. The right amount of moisture is crucial; too much water can drown the seeds, while too little can dry them out.
2. Place Cotton Balls and Seeds in the Gloves
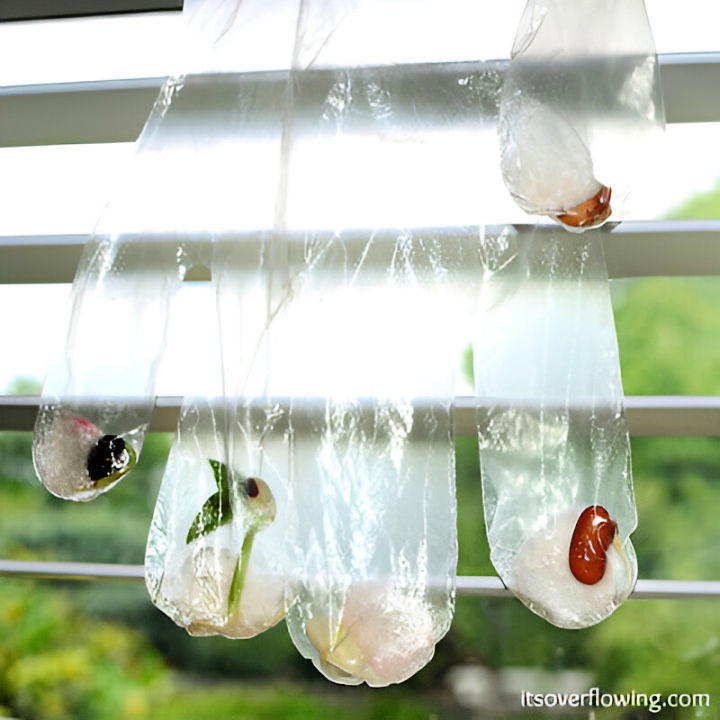
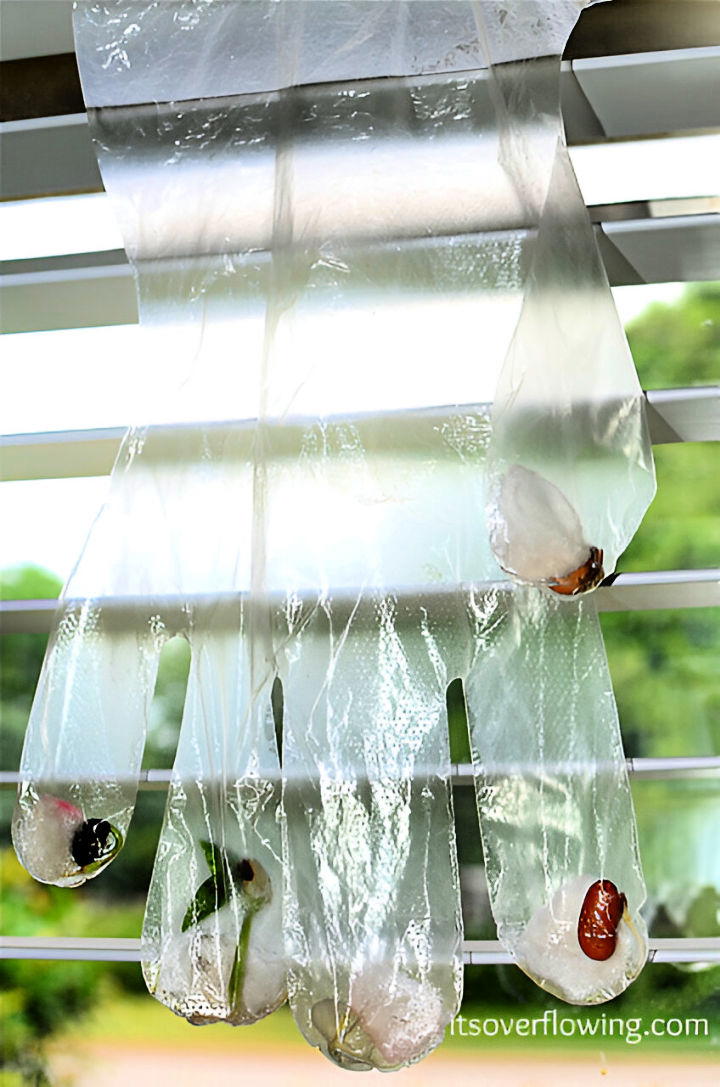
Take one damp cotton ball and place it in each finger slot of the glove. I then add a single seed to each cotton ball. This way, each seed has its own space and enough moisture to germinate. The transparency of the glove allows you to easily monitor the progress of each seed without disturbing them.
3. Seal and Hang the Gloves
After placing the seeds, seal the glove with a twist tie or a rubber band. You can either hang the gloves in a sunny spot or place them on a warm surface like a computer monitor or the top of a refrigerator. Personally, I prefer hanging them on a sunny window ledge where the seeds receive both light and warmth. However, it’s important to monitor them closely as windows can sometimes provide temperatures that are too extreme.
4. Monitor and Maintain the Right Conditions
Check on your seeds daily to ensure the cotton balls remain moist but not waterlogged. This is where the gloves come in handy—if the cotton balls start to dry out, it’s easy to add a little water without disturbing the seeds. Also, watch for signs of sprouting. Depending on the type of seed, germination can start anywhere from a few days to a week.
5. Watch for Stretched Seedlings
When using a window as a light source, I noticed that young plants might stretch towards the light, leading to weak stems. To prevent this, I rotate the gloves every day to ensure even light exposure. If you notice your seedlings getting too leggy, consider moving them to a spot with more balanced light or supplementing with a grow light.
6. Transfer to Soil When Ready
Once the seeds have sprouted and have small roots, it’s time to transfer them to soil. Smaller seeds can be laid on the surface of the soil, while larger seeds should be buried according to the instructions on their packet. At this stage, I move the seedlings to small pots filled with potting mix to continue growing indoors until they are strong enough to be transplanted outside.
Alternative Seed-Sprouting Methods
While the glove method is my favorite due to its simplicity and effectiveness, there are other methods worth considering. I’ve tried a few different approaches, and each has its benefits:


- Paper Towel Method: Place seeds between two moist paper towels and slide them into a plastic bag. This method also provides a clear view of the germination process, which can be particularly educational for children.
- Soil Sprouting Method: This is the more traditional approach where seeds are sown directly into small pots filled with potting mix. It’s straightforward, but it requires more care in terms of watering and light.
Each of these methods has its merits, and your choice may depend on the materials you have on hand and the amount of time you want to invest in monitoring the seeds.
Tips and Tricks for Successful Seed Sprouting
Through trial and error, I’ve learned a few tricks that make the process smoother:
- Keep a Close Eye on Moisture Levels: The balance between moisture and dryness is key. Too much moisture can lead to mold, while too little can prevent germination.
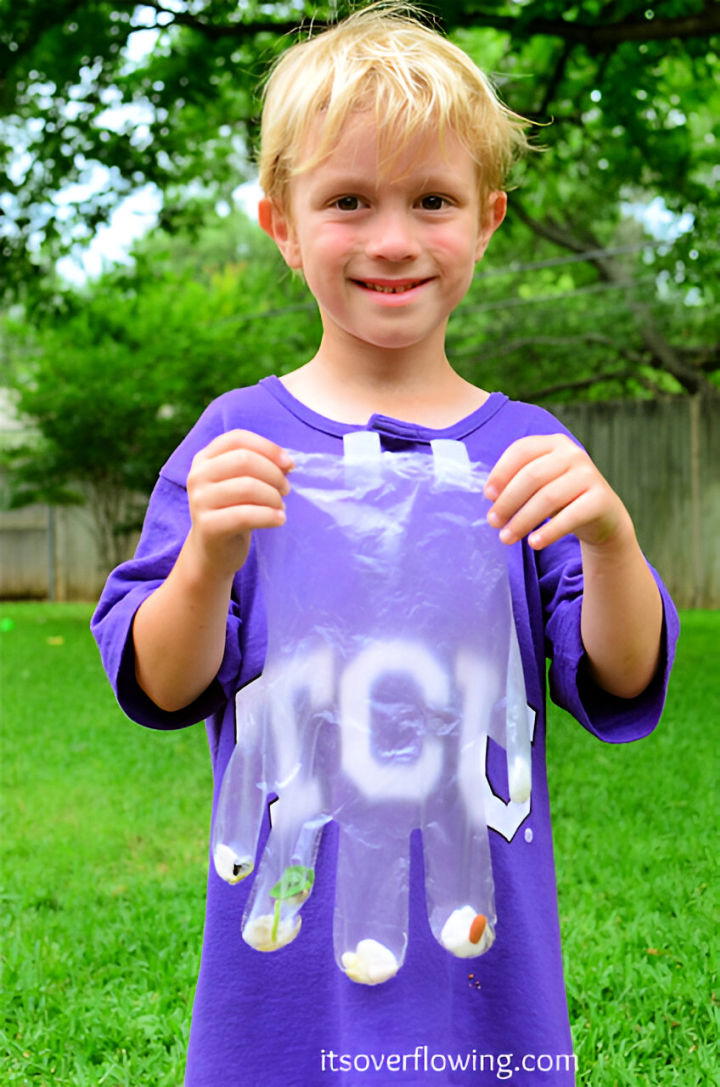
- Label Your Seeds: It’s easy to forget what you’ve planted, especially when sprouting multiple types of seeds. A simple piece of tape on the glove with the seed type can save a lot of confusion later.
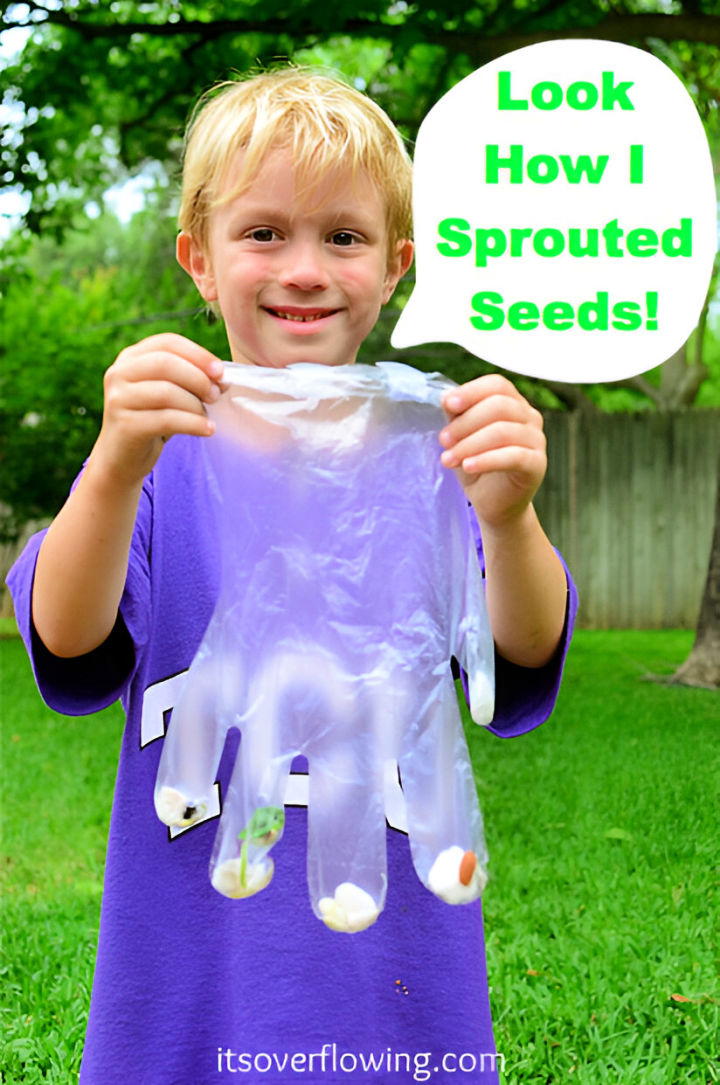
- Involve the Kids: Children love this activity! It’s a fantastic way to teach them about nature and responsibility. Plus, they’ll take pride in watching their seeds grow.
- Be Patient: Some seeds take longer to germinate than others. Don’t get discouraged if you don’t see sprouts right away. Gardening is a lesson in patience.
Final Thoughts: A Simple and Rewarding Gardening Activity
Sprouting seeds is a rewarding and educational project that brings the joy of gardening indoors. With just a few materials and a little patience, you can watch nature unfold right in your home. Plus, it’s an excellent way to bond with family, especially children, as they marvel at the miracle of growth.
I encourage you to try sprouting seeds using these methods and discover the joy it brings. Whether you’re a seasoned gardener or a complete beginner, there’s something incredibly satisfying about nurturing a tiny seed into a thriving plant. Happy gardening!
Related posts:
 Best Flowers to Attract Hummingbirds: A Complete Guide
 How to Attract Hummingbirds to Your Garden: A Complete Guide
 What to Feed Squirrels: Guide to Safe and Healthy Foods
 DIY Potting Bench Plan
 25 DIY Mason Jar Herb Garden Ideas for Indoor
 DIY Cedar Planter Box Under $5
 DIY Grow Tent (10 Easy Grow Tent Setup Ideas)
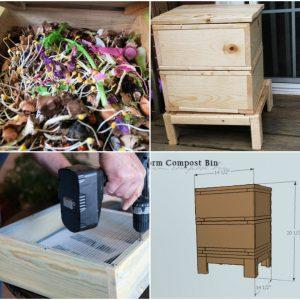 DIY Worm Farm: How To Make a Worm Compost Bin
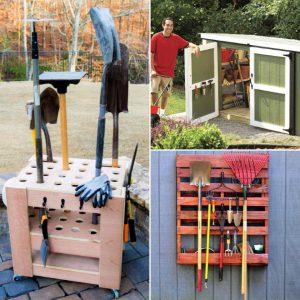 17 Easy DIY Garden Tool Storage Ideas
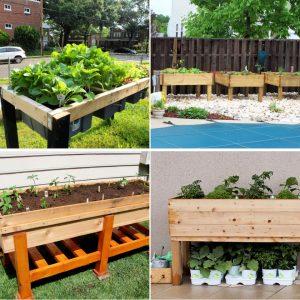 15 Free Waist High Raised Garden Bed Plans
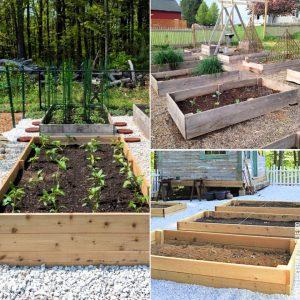 10 Free DIY Cedar Raised Garden Bed Plans To Build
 How to Make a Bird Bath (15 Easy DIY Bird Bath Ideas)