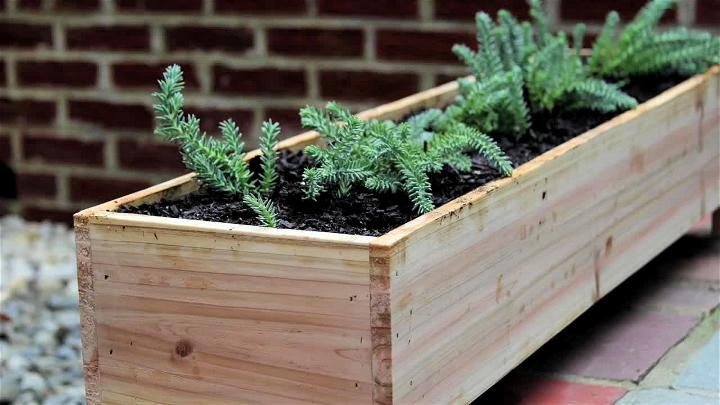
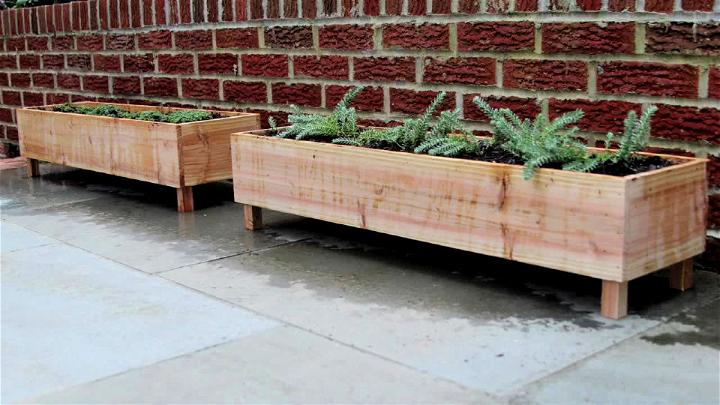
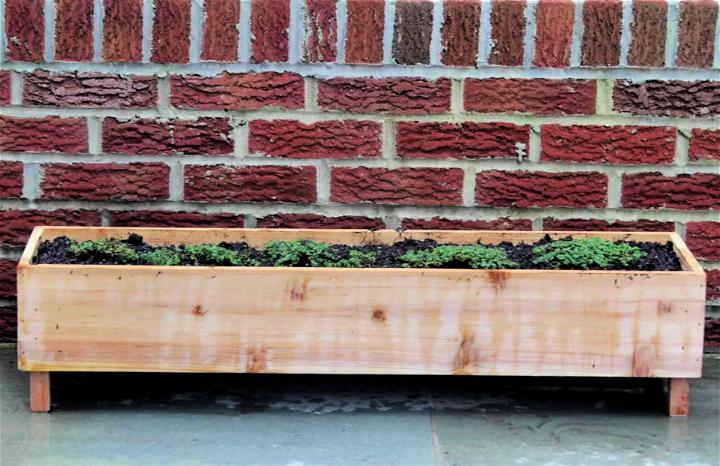
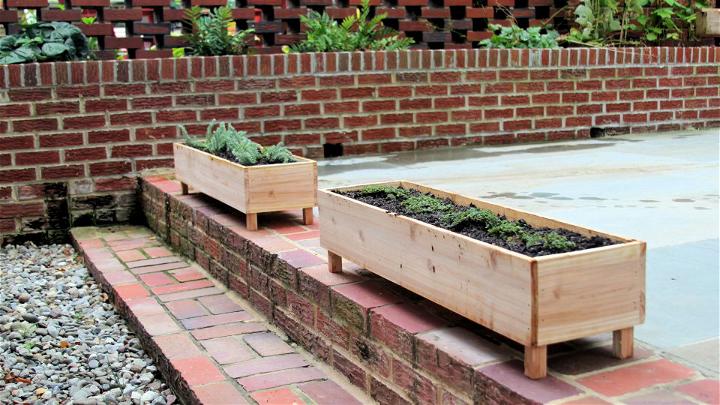
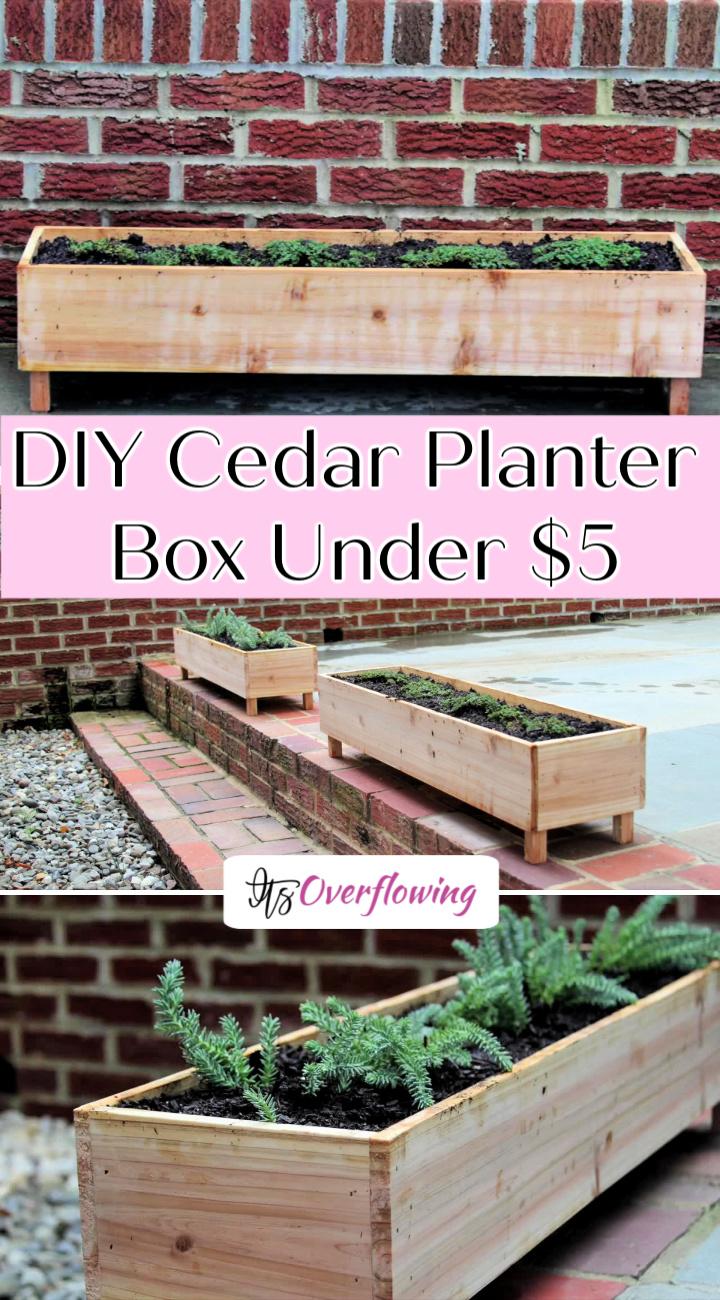
Do you ever get inspired by those whimsical planter boxes that are totally adorable to even look at? If you have been getting inspired to build one for yourself like I was once! I am going to share with you the step by step procedure on how to make a perfect DIY Cedar Planter Box for $5 each. The whole process is super simple, and you can have so much fun making these and adding some big-time texture to your place! One great idea is to make these as the perfect gift for your mom or grandmother! Or, for that matter, whoever loves planting.
I can bet this DIY cedar planter box can turn out to be quite the loveliest gift. As we were moving to this new place with a lot of backyard freedom on our hands, I decided to make some customized changes to it! All the day-long research and I finally landed at this ideal and perfect DIY cedar planter box under $5. The final dimensions of each of these planter boxes are about 8′(w) x 7′(h) x 4′(l). Let me take you to the detailed step by step tutorial!
Let’s start by gathering the supplies first;
Supplies Required
- Cedar
Fence Pickets - Hand
Saw - Table
saw - Circular
saw - Drill
- Nails
- Wood
Glue - Nail
Gun
Step by Step DIY Planter Boxes Guide
Cutting and assembling the legs
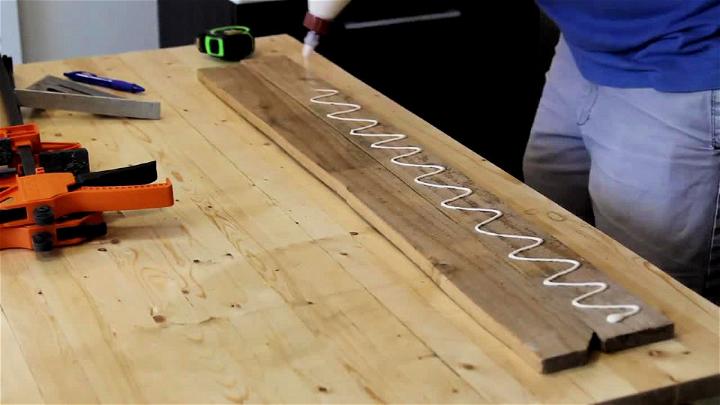
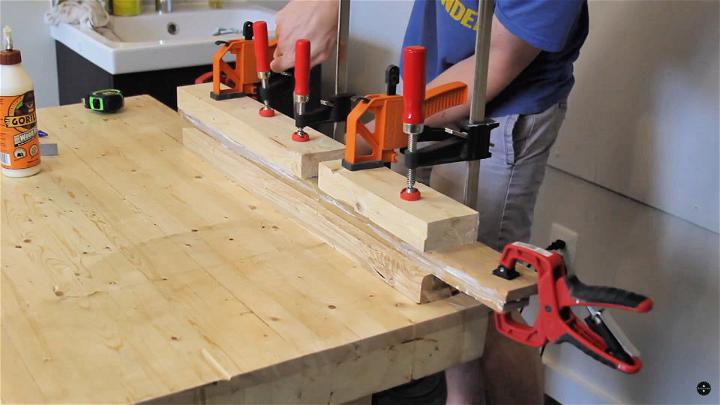
- Start by gluing together two pieces of cedar fence pickets, use a clamp to press down upon them. These will be used for the legs of the planters.
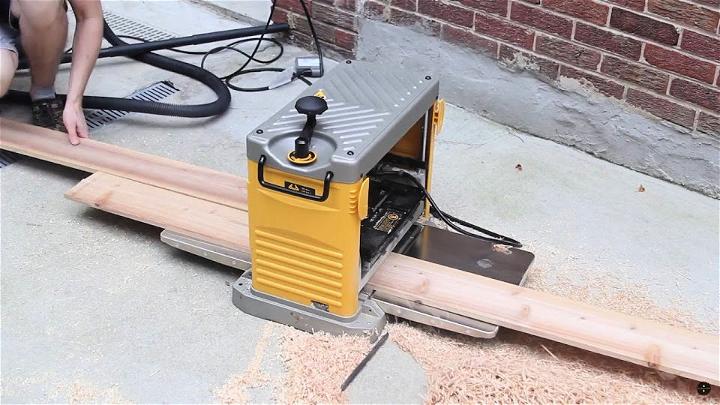
- Each planter uses a total of two pickets, which will cost you about $2.50 each. Once the pickets dried, I used the planer to smooth out the texture of the wooden pickets. I also took this time out to smooth out other pickets I will be using later on the experiment.
- Using a saw, I cut the wooden planners. The short sides and bottom slats are 8” long, and the long slides are about 4 feet each. I used a table saw smooth out the edges of the leg pieces, I then cut it in half in its required dimension.
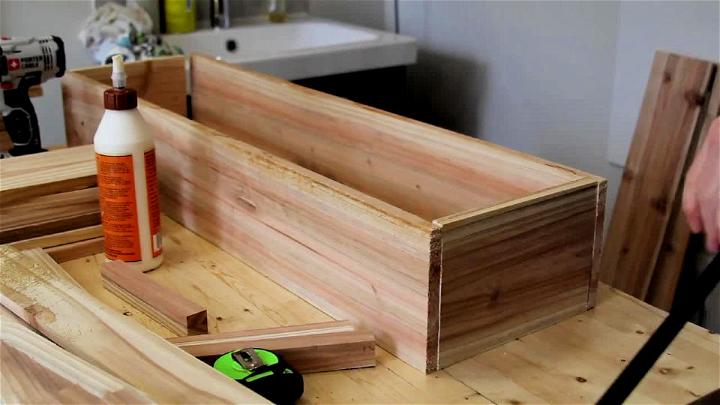
Assembling the bottom slats
- I also cut down a few small sizes of an extra picket to use for support of the planter later on. I glued and nailed on the strip of woods I just cut down, this will give support and strength to the bottom slats.
- Also, I would suggest you to pre-drill holes to nail in the wood. Most importantly, it will certainly make your job easier. Then I glued, clamped and nailed the four sides of the box together if you don’t want to use the nails you can clamp the four sides together.

Assembling the Cedar planter frame
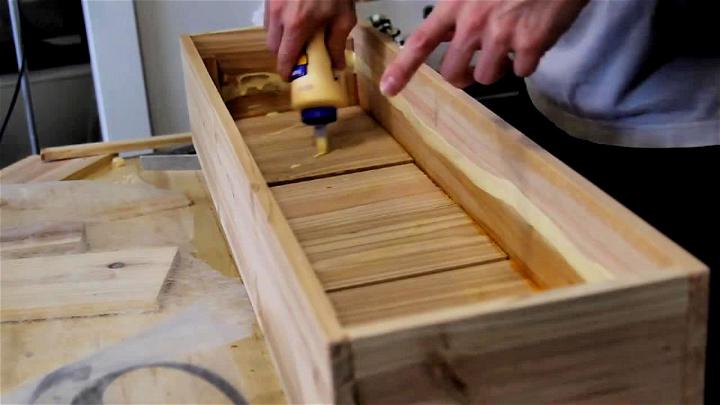
- As I didn’t want the top of the legs to be visible, so I used an extra leg I cut earlier as an insert while I glued the legs in. I used a saw to cut the corners of the bottom pieces. (DISCLAIMER: Also, in my experimentation with saw cutting, I found that saws with finer teeth cut cedar wood best).
- Next, I glued the bottom slats firmly. Here I made sure to face the side of the boards that are more likely to bow in the middle downwards. It should look like an upside ‘U.’
- Make sure to leave some gap between each board, as this will allow the flow of water and allow the board to expand and contract.
- While the glue dried, I put some heavyweight items on the box to apply pressure, firmly attaching the contents.
Finishing Touches
- Using a plane level, I smoothed out the corners of the box, this step is not necessary but it certainly adds a neat look to the overall appeal of the planter.
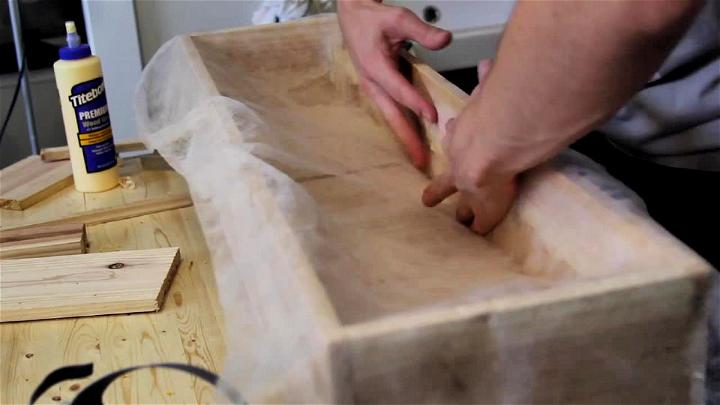
- In the end, I glued some garden fabric to the bottom of the box. This will keep the soil from leaving the box but will allow the water to drain out of the box! Perfect, right?
- Also, if you don’t have garden fabric replace this step by using stones instead.

My happily-economical takeaway from this DIY Planter Box!
Well, for me, this was certainly quite a fun and interesting DIY planter box project to build. The best part is that all the time, while I was working on this, I had this utmost satisfaction that this will last longer! As the material used is cedar, it will last long! Cedar does not rot quickly, so here’s your other inspirational push for trying out these cedar planter boxes! I cannot believe that I literally transformed the place by just spending $5 on each of these. So, what’s keeping you, go give it a try.


Related posts:
 10 Free DIY Cedar Raised Garden Bed Plans To Build
 DIY Closet Doors (10 Cheap DIY Closet Door Ideas)
 15 Free DIY Elevated Garden Bed Plans You Can Build
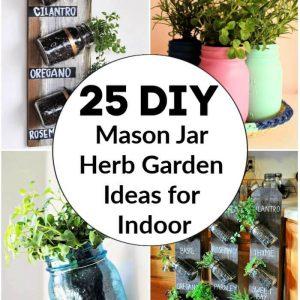 25 DIY Mason Jar Herb Garden Ideas for Indoor
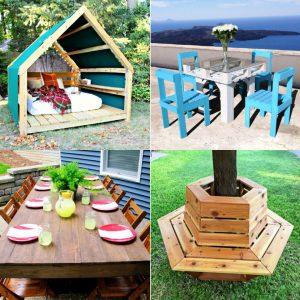 50 DIY Outdoor Furniture Plans To Build For Your Patio
 30 Simple DIY Wood Headboard Ideas You Can Build Yourself
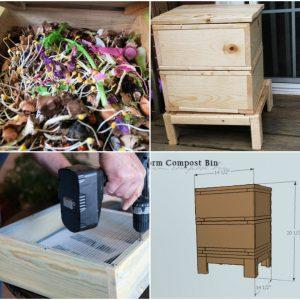 DIY Worm Farm: How To Make a Worm Compost Bin
 20 Free DIY Blanket Chest Plans (Wooden Storage Chest)
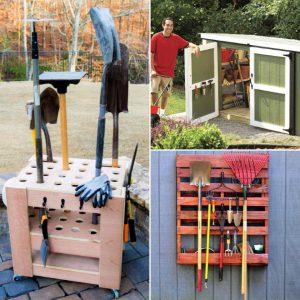 17 Easy DIY Garden Tool Storage Ideas
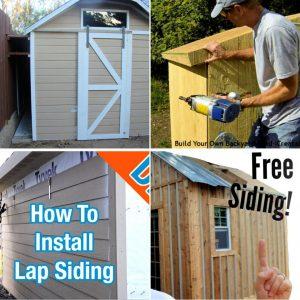 10 Cheapest Shed Siding Options You Can DIY
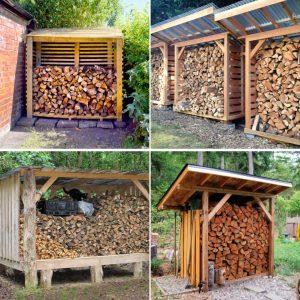 35 Free DIY Firewood Shed Plans (How to Build a Wood Shed)
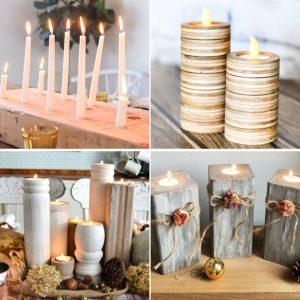 15 Homemade DIY Wooden Candle Holders (Make Your Own)