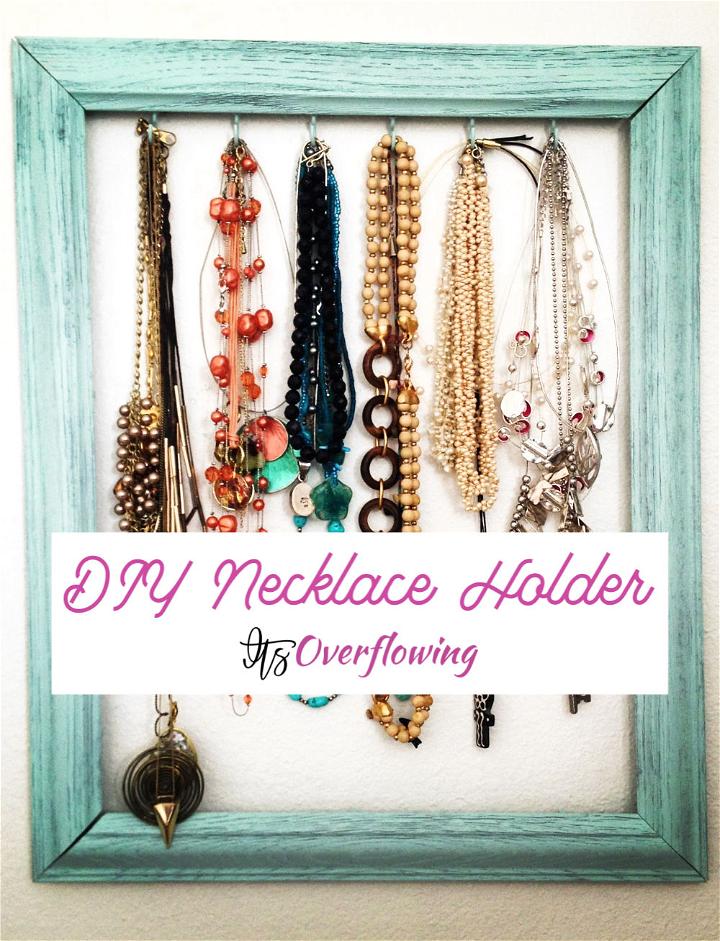
I would like you to tell the story of this exceptional DIY jewelry holder project that helped a lot in the easy and classy organization of my necklaces. I used to hang the necklaces on the wall nails, it worked for me with no issue, but soon I realized that I have to spice my jewelry storage game. So, I came with this DIY necklace holder idea, it is super inexpensive, and it made me feel proud, too, when I put my old frame to new creative use.
You may also be having some old picture frames at home lying useless. So, repurpose them to organize messy collections of your jewelry. Just head over to this complete DIY Necklace Holder Tutorial that will cost you next to nothing and will instantly change an old empty picture frame into a necklace display and jewelry storage unit. It will hang like a charm on a targeted wall.
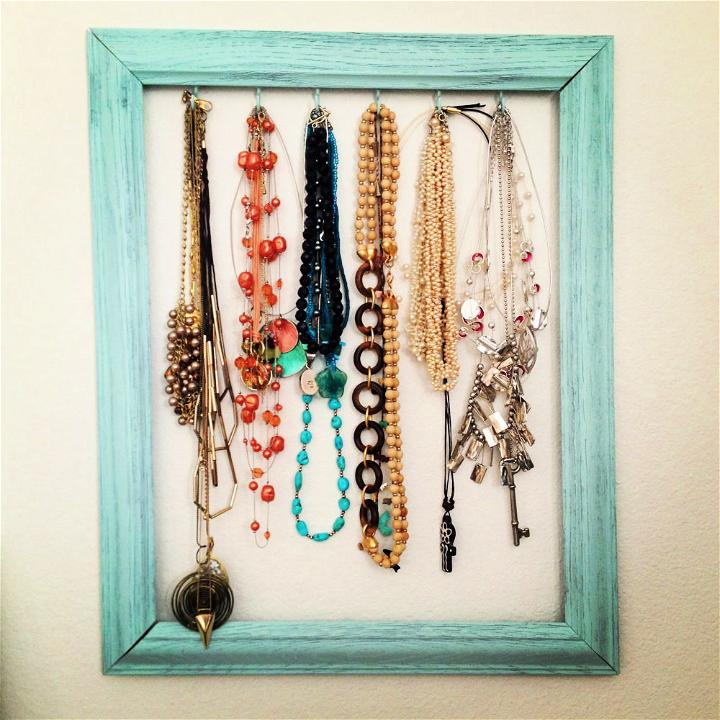
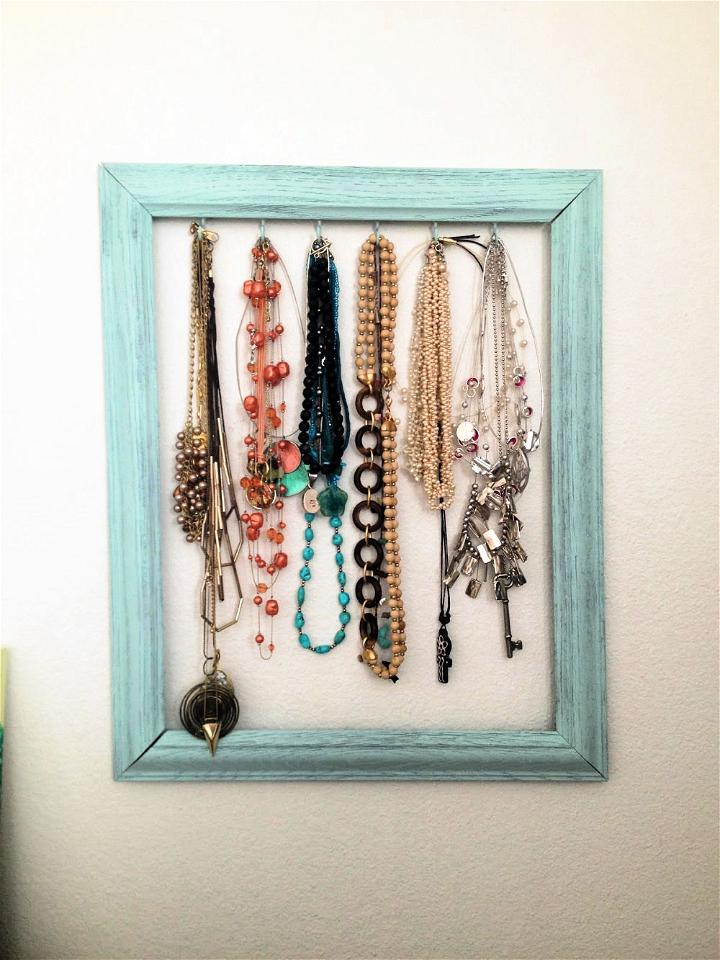
I also painted my frame, so it goes best to the rest of the room decor. The aqua painted appeal goes much coordinating to the rest of the room decor. The project will complete in 60 minutes, but painting may take time as you can touch the frame until the paint is dried well. Adorn the finished product more using custom accents and embellishments. A creative jewelry storage hack that is budget-friendly and beginner-friendly.
The projects gain attention as it involves creative recycling, repurposing, and upcycling. Using this DIY project, you will see your necklace hanging on the wall in a dazzling way just in an hour.
Before you start the DIY jewelry holder tutorial, start gathering the required materials.
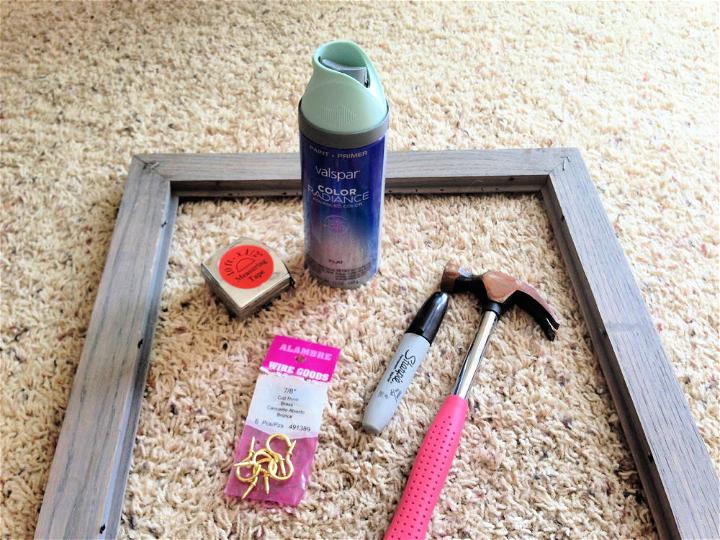
Supplies:
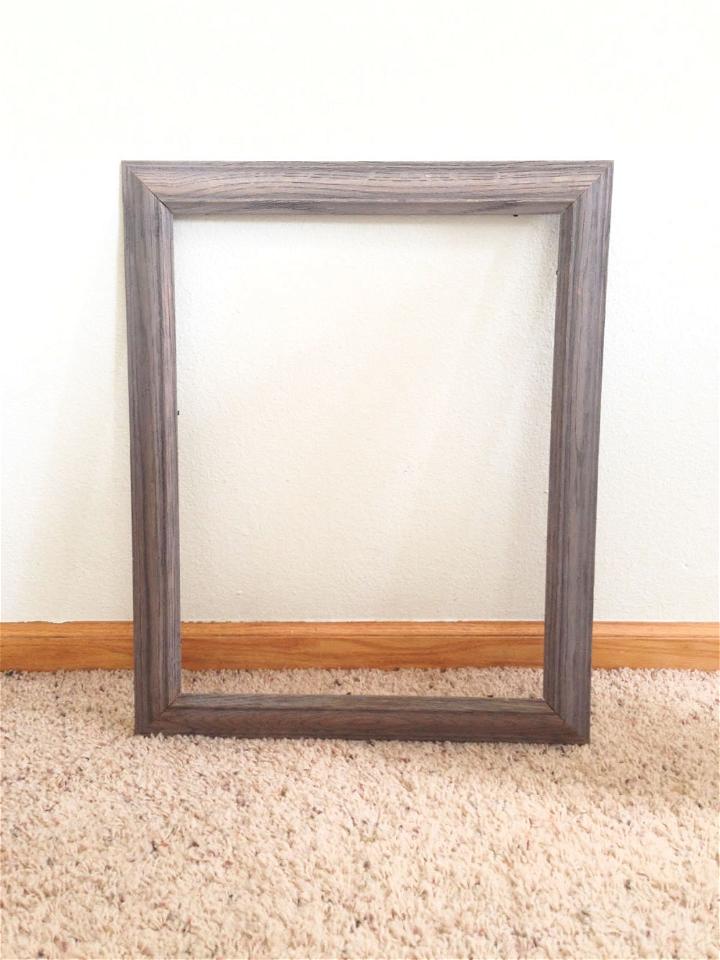
- An 18inch x 22inch frame – it should have length more than your necklaces
- Measuring Tape
- Hammer
- Nail
- Hooks – use the 7/8″ cup brass hooks
- Paint – if you want to match your frame with your room decors
Step 1:
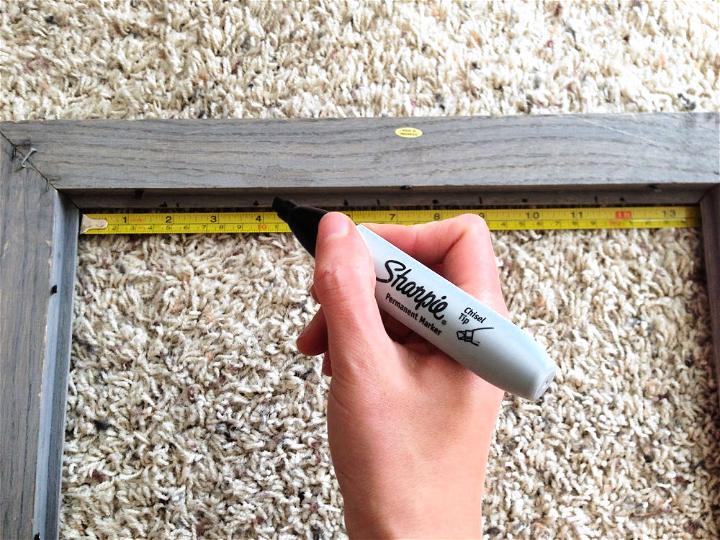
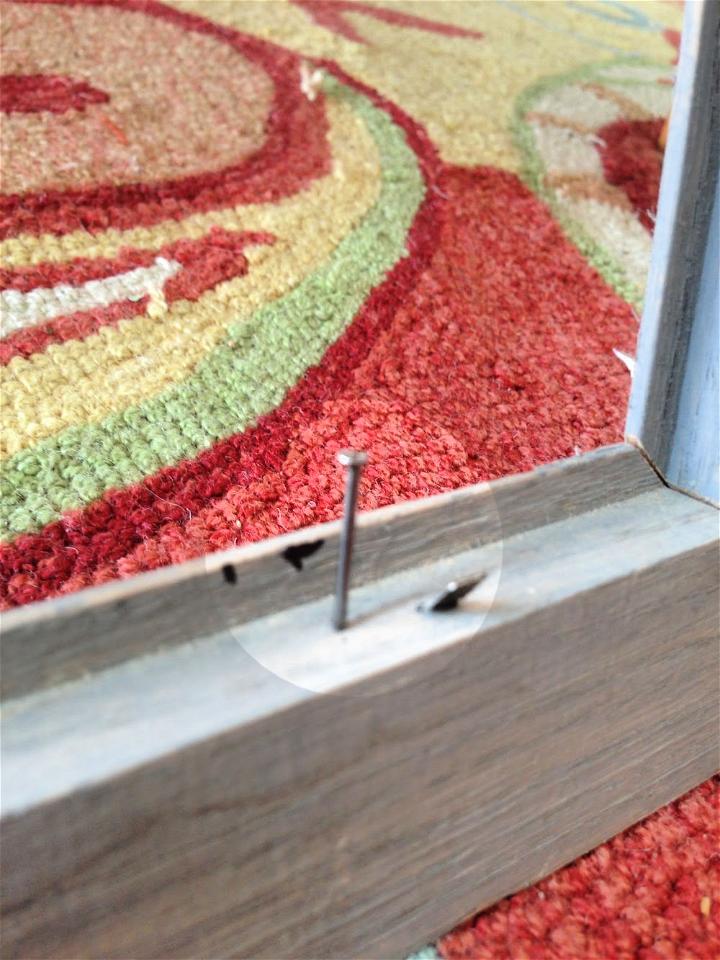
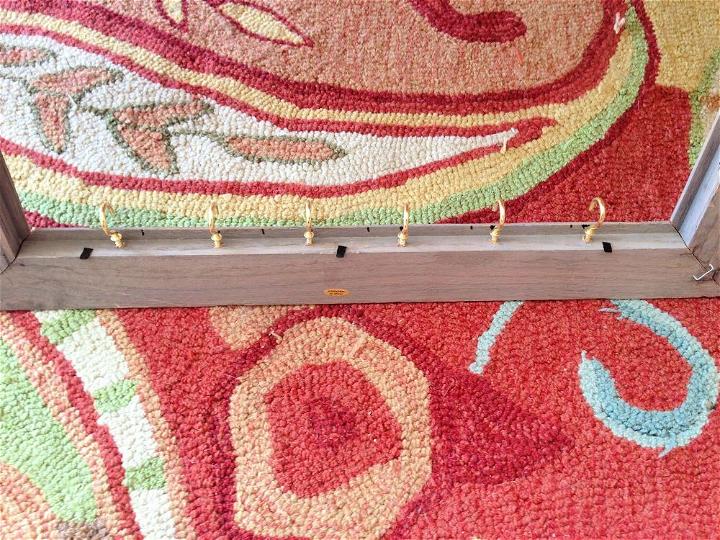
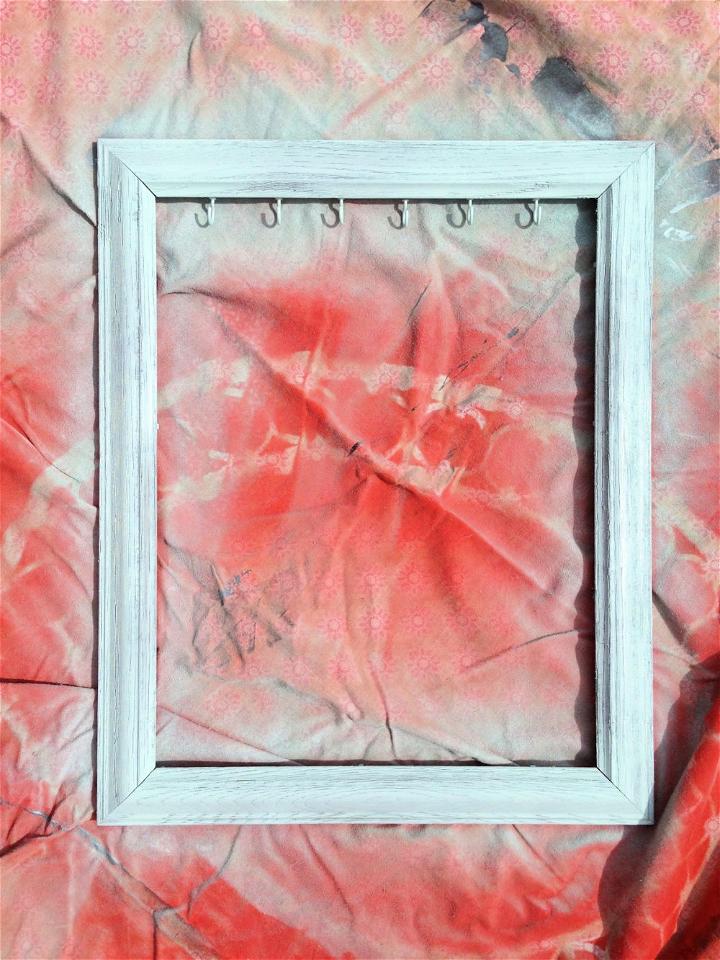
The first step is all about to add nail marks. To do so, first, measure the inside width of the frame and then use the mark to add equally spaced marks. The ideal way would be to divide the whole width by the number of hooks you have. In my case, I measured inside width 14″ so I added 7 nail marks, each mark is 2″ spaced. However, you can vary the space between the marks in your case.
Step 2:
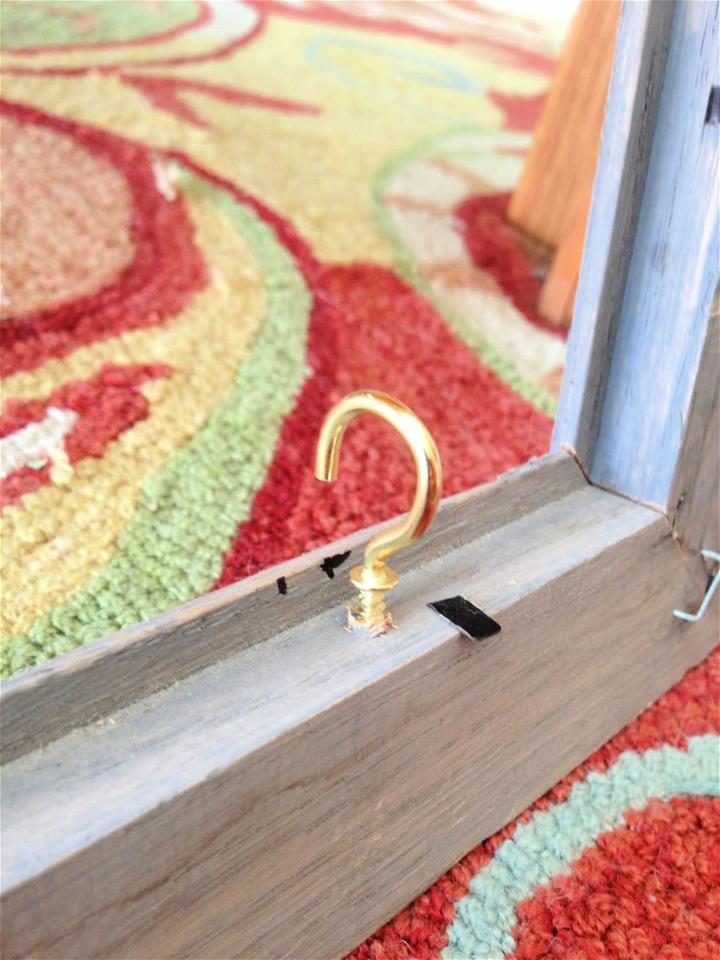
Next, grab the hammer and nails and start adding nails onto the marks. Hammer lightly in such a way that 1/4th length of nail goes deep in the mark. By doing so, you will get the primary holes to screw in the cup brass hooks in place easily.


Step 3:
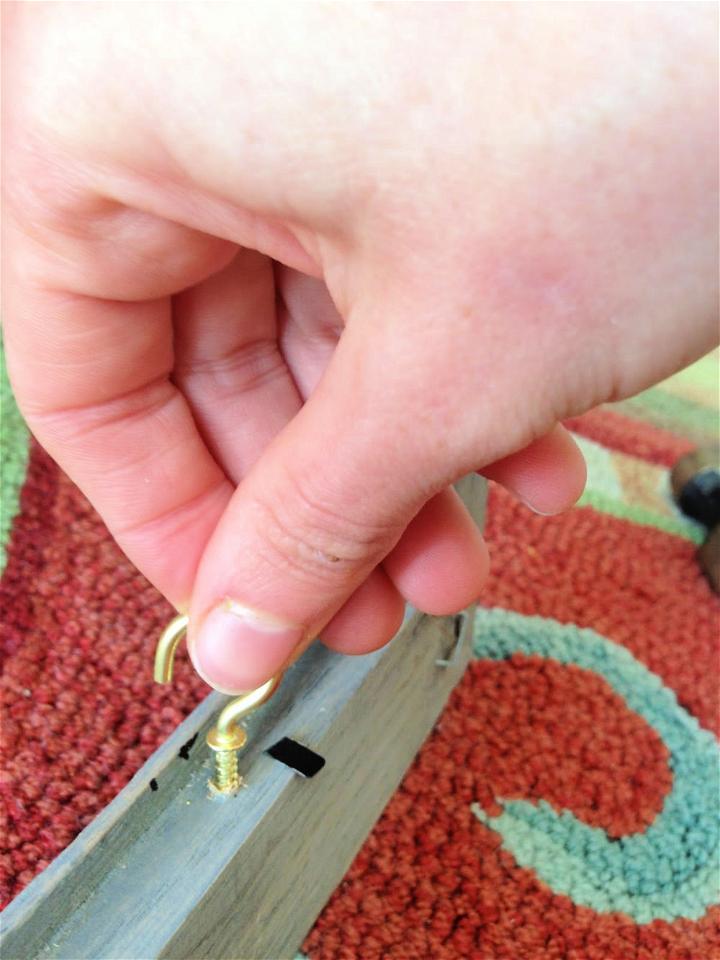
Add a brass cup hook onto each mark until you get a complete line of hooks. Just screw the hooks in the holes using the pressure of your hand. This was a little challenging for me, but after adding 1 or 2 hooks, you will be handy in doing so. Just push the hole screw part of the hooks in place.
Step 4:
After installing the hooks in place, make sure they have faces in the same position. Next, you can plan to paint the frame. Only decide a paint color that will match your decors.
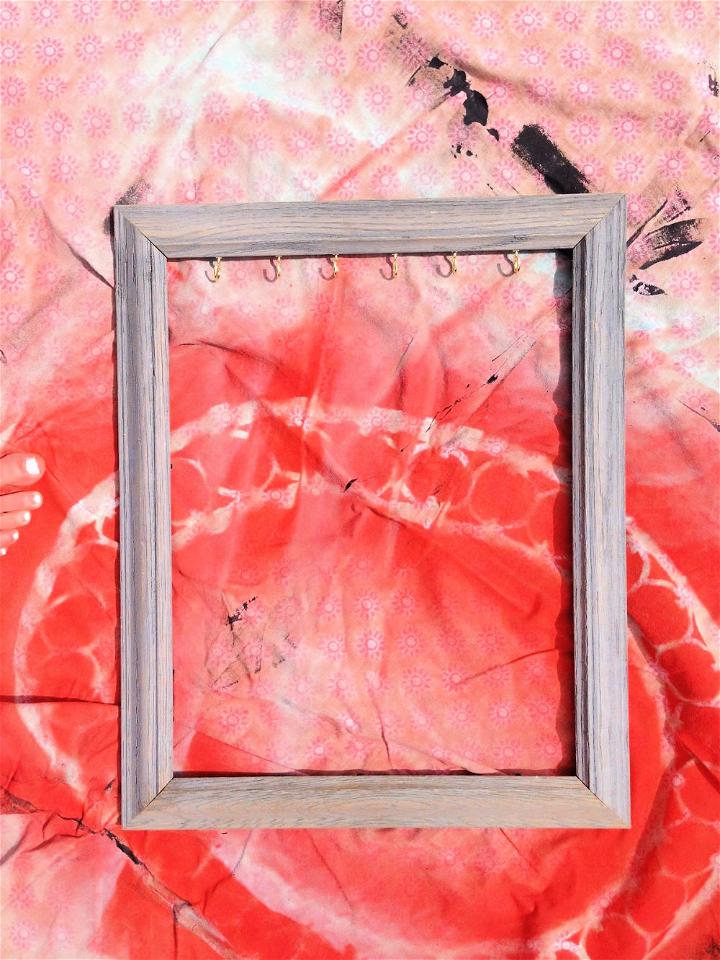
In my case, I placed the frame on an old drop cloth sheet with the right side facing upward and then started painting it. Choose any spray paint in a hot shade and then start painting your frame with it. I gave two coats of aqua spray paint to my frame, so it goes best to the rest of the room decors. You can give as many coats as you want until you get the targeted appeal of the frame. Next, let the paint dry for 20 minutes, and next, you can leave it overnight.
Step 5:
After you get your frame ready, start hanging your necklaces on the hooks. Install it on the wall with a hook side up. Use the latest and durable DIY jewelry organizer systems for a stable wall mount. Now, time to show off with your necklace collection, this DIY necklace holder will create an enchantingly beautiful display of your necklaces.

DIY Necklace Holder Tutorial
Related posts:
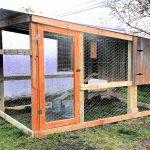
 DIY Chicken Coop with Run Tutorial (Detailed Guide & Free Plan)
 DIY Stamp Tutorial And Curtains Decoration
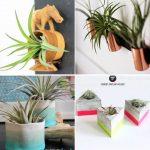
 25 Easy DIY Air Plant Holder Ideas to Display Plants
 DIY Shelves (30 Cheap and Easy DIY Shelf Ideas)
 DIY Cat Shelves (14 Easy DIY Cat Wall Ideas)
 DIY Floating Shelves (30 DIY Floating Shelf Ideas)
 30 Free DIY Catio Plans (DIY Outdoor Cat Enclosure)
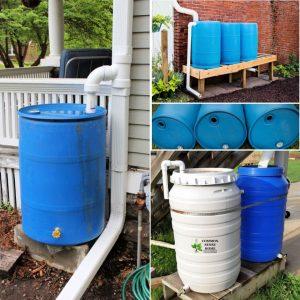 15 DIY Rain Barrel Ideas (DIY Water Collection System)
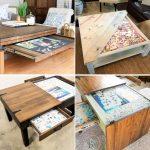
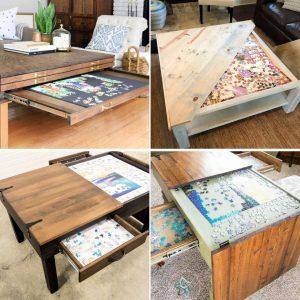 Build a DIY Puzzle Table (5 Free DIY Puzzle Coffee Table Plans)
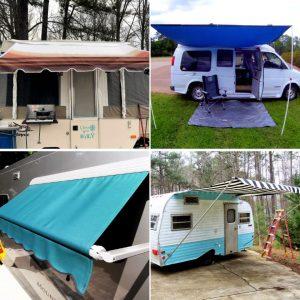 10 DIY Camper Awning Ideas (Make DIY RV Awning)
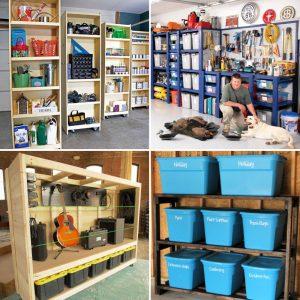 DIY Garage Shelves (30 DIY Garage Shelving Ideas to Try)
 DIY Pantry Shelves (25 Cheap DIY Pantry Shelving Ideas)